This section will give you some information on setting up the registration services and integrating them with your
fudge theme. Learn how to setup tickets in Eventbrite, EventEspresso, Woocommerce, Xing Events and Ticket Tailor.
Eventbrite
You can obtain the embed code from Eventbrite by creating an event and tickets at www.eventbrite.com. If you don’t have an account, click on ‘Sign
Up’.

You will be redirected to this ‘Create an Event’ page. This page has three sections: Event Details,
Create Tickets and Additional settings. In the first section, fill in the required fields: Event Title, and Date
& Time. Fill in optional fields if you want.

You create the tickets in the second section, choose a type to start, for example a Paid ticket.

Fill in the name of the ticket, the quantity and the price. Select an option about the fees: absorb, pass on to the
buyer or customize them. If you need another Paid ticket, click on Paid again.

The third section is about the promotion and additional settings of our event. Select Public Page and enter a
category and sub-category for your event if you like. Lastly, click on Make Event Live button at the bottom.

Once your event is live you will be redirected to the event dashboard. There you need to click on the manage and
click on the widgets in the right hand sidebar as shown in the screenshot below.

On the next screen choose Ticket form:

Finally, select and copy the ticket form embed code and paste it in the content builder registration element on
your page as outlined in 6.8 Content Builder – Registration.
Complete the configuration of your event in Eventbrite, click on the link ‘Select Payment Options’.
By default the Credit Card Processing option is selected. If you need more help visit the Eventbrite Help Center.
Event Espresso
Fudge 2.0 works great with EventEspresso. EventEspresso is a WordPress plugin which allows you to handle event
registration and ticketing on your own site.
To use EventEspresso with Fudge 2.0 you will need to purchase it from EventEspresso.com.
Please note that Fudge 2.0 only supports version 4.0 Beta and above. Also note that the above integration will only
include the display of the ticket selector shortcode.
More advanced integration will require custom development. Once you have purchased and downloaded EventEspresso, you
will need to install and activate it. Here is quick guide on how to install and activate
EventEspresso.
After installing Event Espresso, the first thing you need to do is to choose a payment method. EventEspresso comes
with Invoice, Authorize.net AIM, Bank Draft, Check, PayPal Pro, and PayPal Standard payment methods.
To choose a payment method go to Dashboard and then click on Event Espresso > Settings > Payment Methods.
Activate the payment method you want to use, and then provide the details required to use that payment method.

Once you have configured a payment method, the next step is to create your event in the EventEspresso. Go to the
Dashboard and then click on EventEspresso > Events.
Click on the Add New Event button to create your event.

Provide your event title, and add the description. Make sure that the event title and description and similar to your
event details in Fudge 2.0.

After that scroll down to Event Tickets & Date-time section. There you need to select your event date and time
and then enter ticket information. You can create different types of tickets here by clicking on create ticket
button.

Once you are satisfied with the event, you can hit the publish button to make it live. EventEspresso will publish
your event. On the Event page you will now see shortcode button below the Event Title.

Click on the shortcode button, this will bring up a popup containing a shortcode. This shortcode will look something
like this: [[ESPRESSO_TICKET_SELECTOR event_id=’316′]] .
Copy this shortcode, as you will need it in the next step. To display the ticket registration on your page, enter
your shortcut code in the content builder registration element on your page as outlined in 6.8
Content Builder – Registration.
Gravity Forms
Install Gravity Forms, it’s a paid plugin available here: https://www.gravityforms.com/
Create a new form

Include the Form title and click on “Create Form”.

Add the information you will need to recollect from your users. There are multiple options available

Update or save your form, the id of your form should be located next to the name.

You need to insert Gravity Form’s shortcode inside the “Registration” Page Builder Item

Insert your shortcode here, and click on “Ok”. Do not forget to save or publish your changes.
Sample shortcode:
[gravityform id="1"]

Gravity Forms Sample.

Woocommerce
This tutorial is to set up Woocommerce with Fudge 2.0. Woocommerce is a powerful plugin to turn your site into an
eCommerce platform.
While Woocommerce is not a platform to sell event tickets, we have tweaked it to make it’s product selector a ticket
selector.
Bear in mind that if you use Woocommerce as your ticketing option in one of our themes, you won’t get specific event
functionality. ‘Products’ will become ‘Tickets’ and everything will be geared towards selling tickets, not products.
The add to basket functionality will be dedicated only to selling tickets and selling other products than tickets
may be compromised.
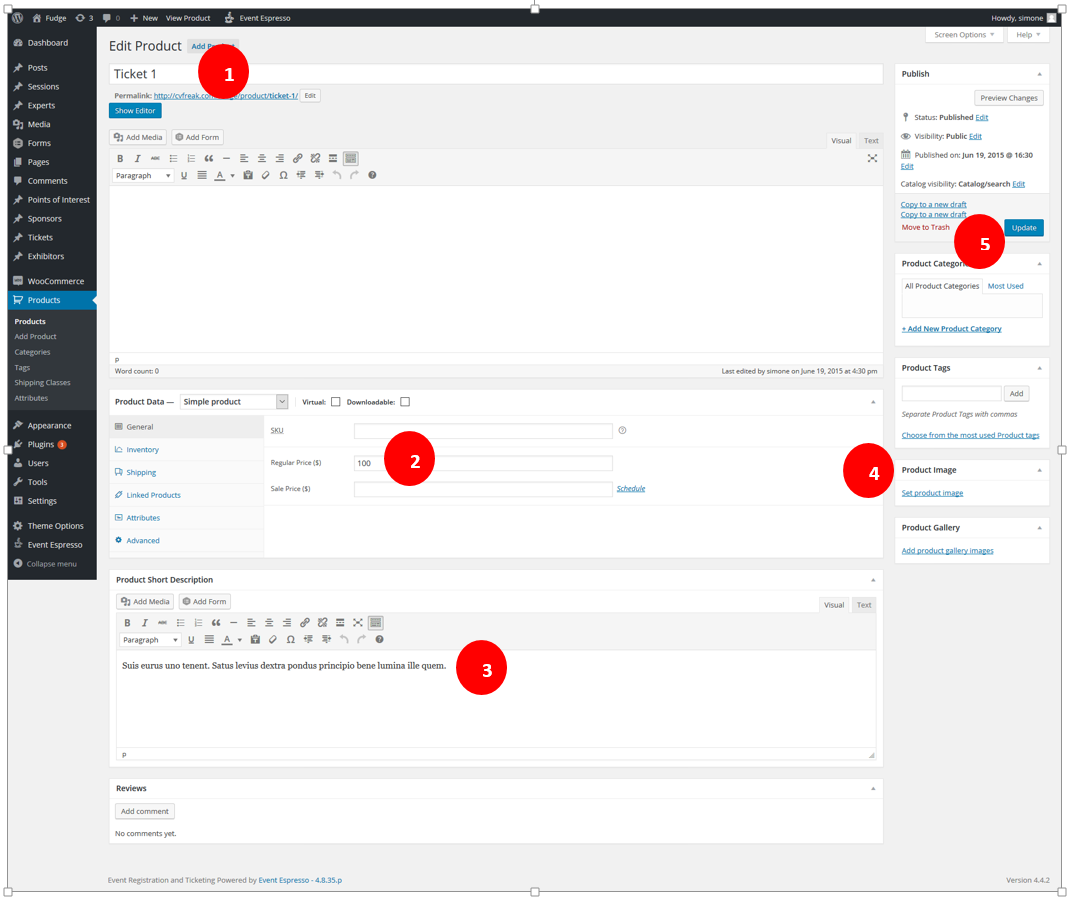
Once you set up Woocommerce, you can go ahead and create your ‘Products’. These will be effectively your tickets. To
do this, go to Dashboard >> Products >> Add Product
- 1 – Give your ticket a title
- 2 Add the price for your ticket, if you wish to offer a sale price then enter it in sale price field.
- 3 Add a short description about the ticket
- 4 Add an image for your ticket if you like
- 5 Update to save the ticket
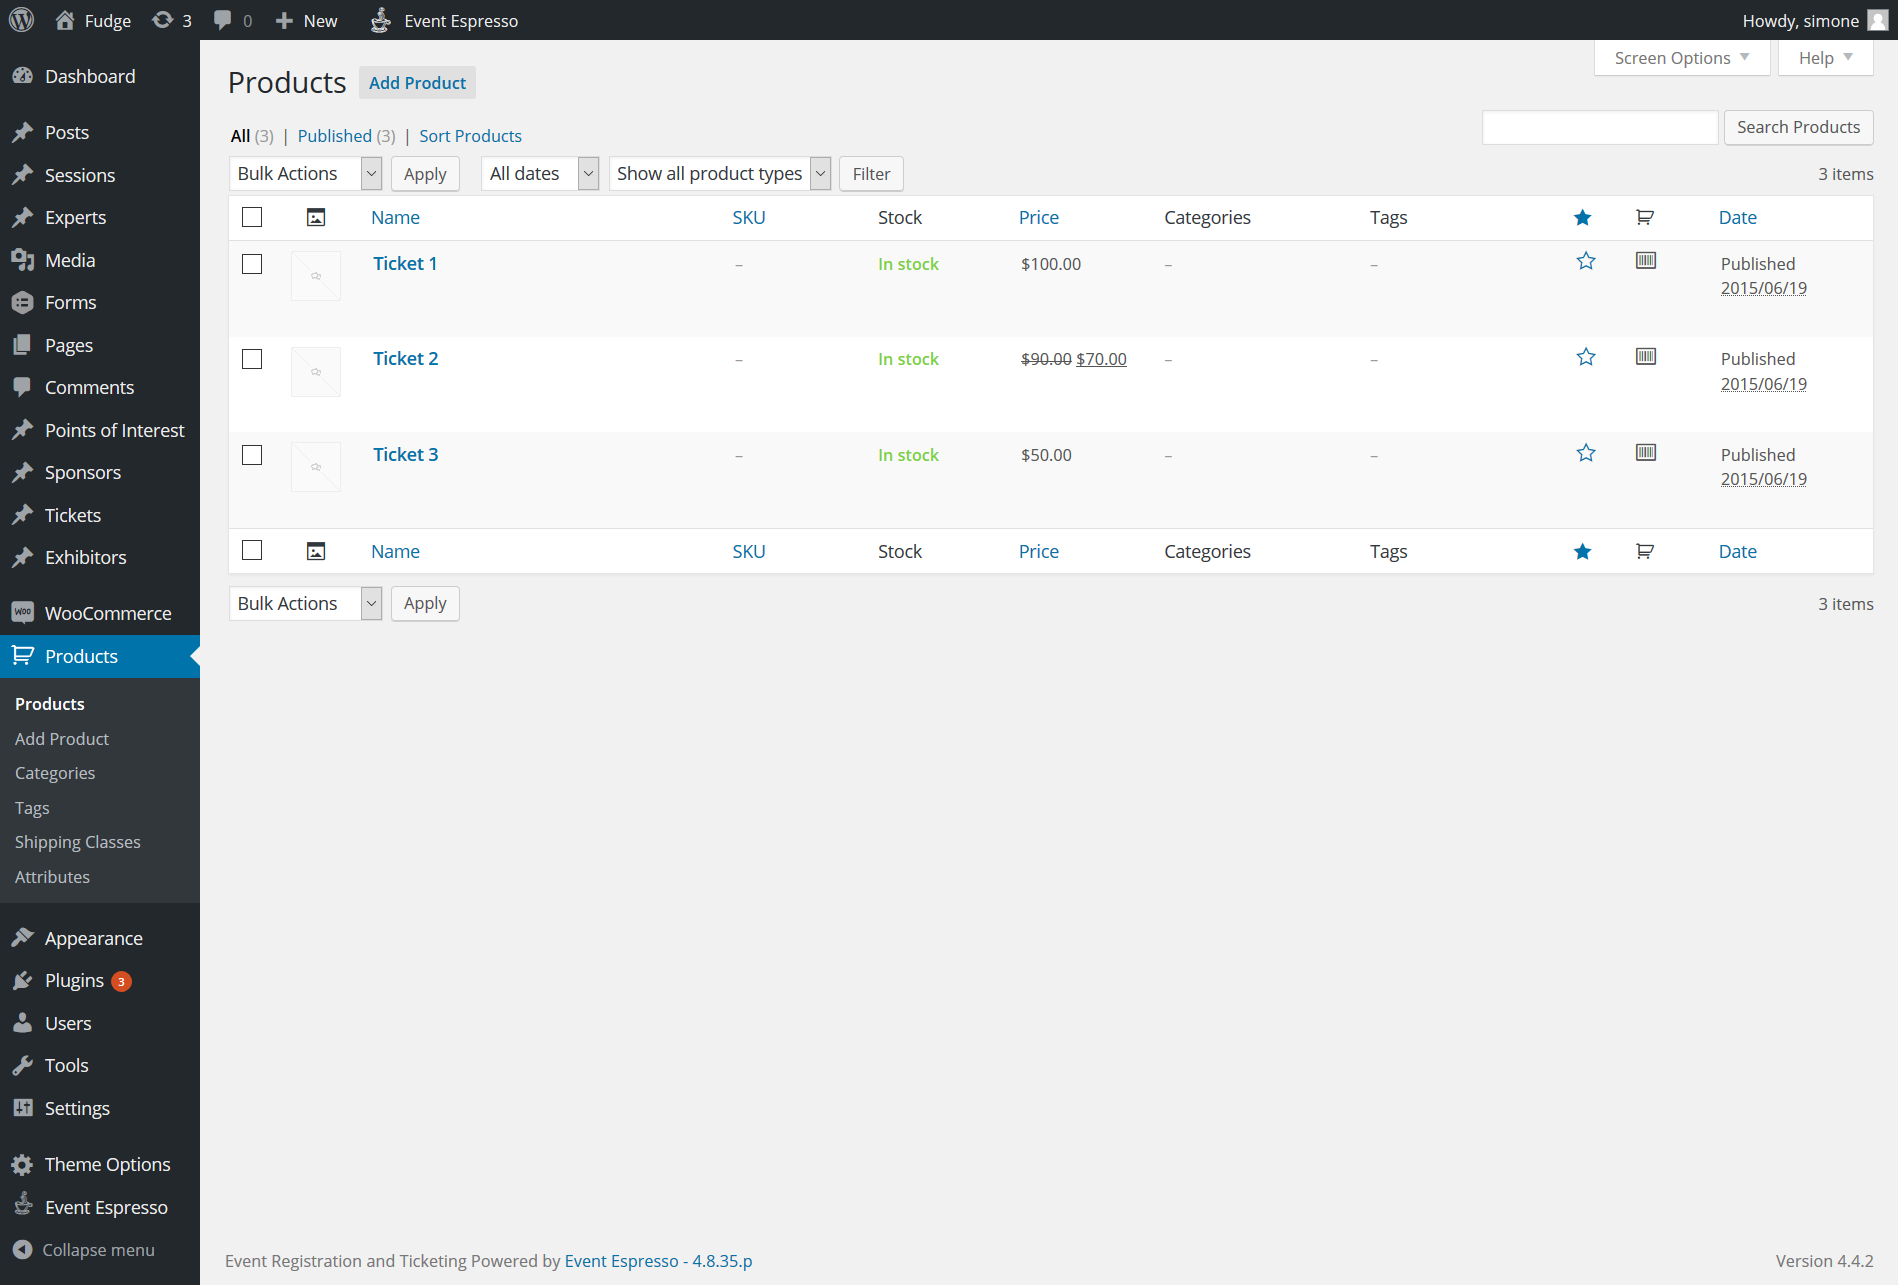
Repeat this same process for as many tickets as you like. You can view all the tickets you have created by going to
Dashboard >> Products
To display the ticket registration on your page, enter the shortcut [products skus=""] in the
content builder registration element on your page as outlined in 6.8
Content Builder – Registration.
Xing Events
Xing Events is an online event registration and ticketing service. You can obtain the embed code from Xing Events by
creating an event and tickets at www.amiando.com. Enter your
email address to create a free account.

Fill in the sign up form, and click on ‘Start Now!’

Your dashboard will appear. Click on ‘Create your Event!’

Fill in your event information and then click on the Next button.

Your event is now in a draft mode. You can do all kind of tests, enter your banking information, and choose payment
options. While in the draft mode, you need to click on Ticket Sale presentation in the left hand sidebar and switch
from Registration Form to Ticket Sale Presentation form.
It is important to do this as you can only do that while your event is in the draft mode. When you are ready click on
‘Activate event’.

If you haven’t already provided your banking information, then you will be asked to provide it now. After that your
event will be activated.
Now you need to click on the Integration tab under Edit Event from sidebar on your left. Make sure that the module
dropdown shows “Order tickets (Ticket sales)” and copy the HTML code.

Copy this shortcode, as you will need it in the next step. To display the ticket registration on your page, enter
your shortcut code in the content builder registration element on your page as outlined in 6.8
Content Builder – Registration.
Ticket Tailor
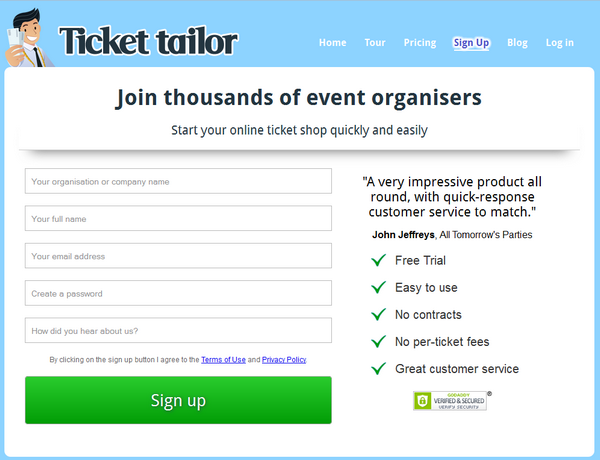
Ticket Tailor is a reliable and user friendly ticketing system with no per-ticket costs or commission fees.
Embed codes will painlessly add our ticketing widget to your WordPress site. They can be accessed as soon as you’ve
created an event and listed some tickets at www.tickettailor.com.
To open your free account, click ‘Sign Up’ and enter your details.
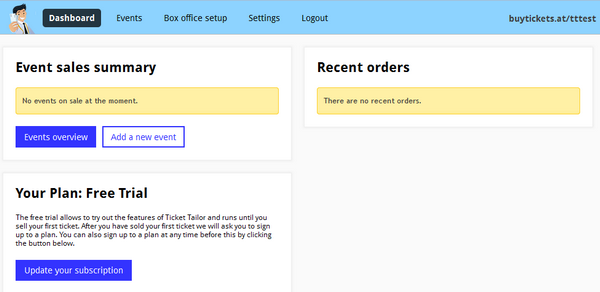
After signing up, you can click ‘Add a new event‘ on the dashboard to start
creating your first event.
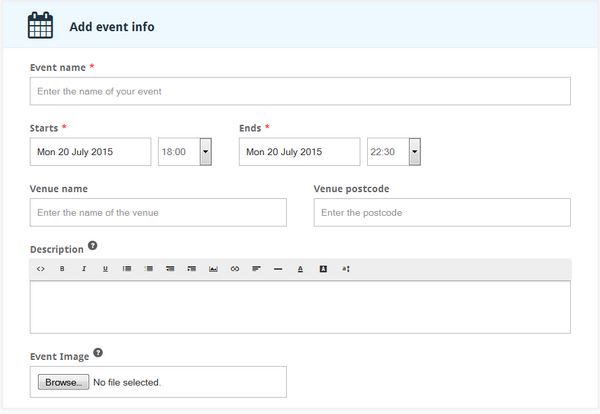
On this page you will be able to add your event details, including start and finish times, an event description and
postcode.
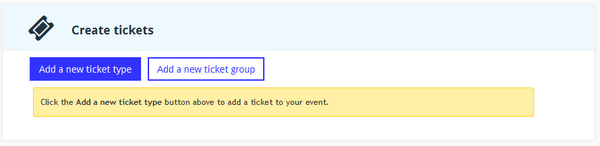
Further down you’re able to create ticket types and customise them.
Ticket groups can also be used to separate types by time or date. Click ‘Add a new ticket
type‘ to get started.
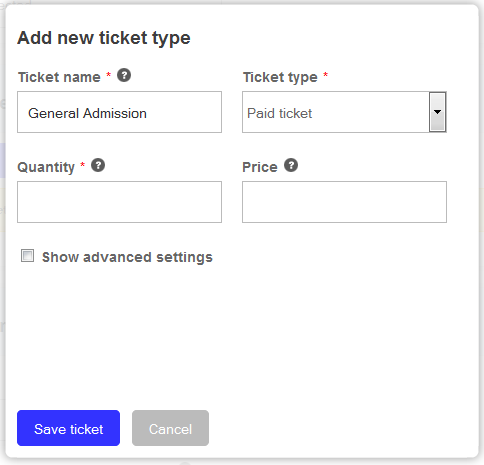
Several advanced settings are available for tickets, including ticket descriptions, the ability to add additional
fees and to allocate minimum purchase amounts. Make sure to allocate a quantity of tickets for sale!
Click ‘Save ticket‘ when you’re done.
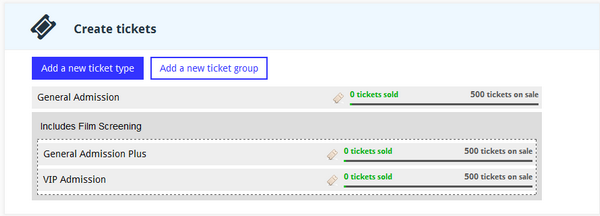
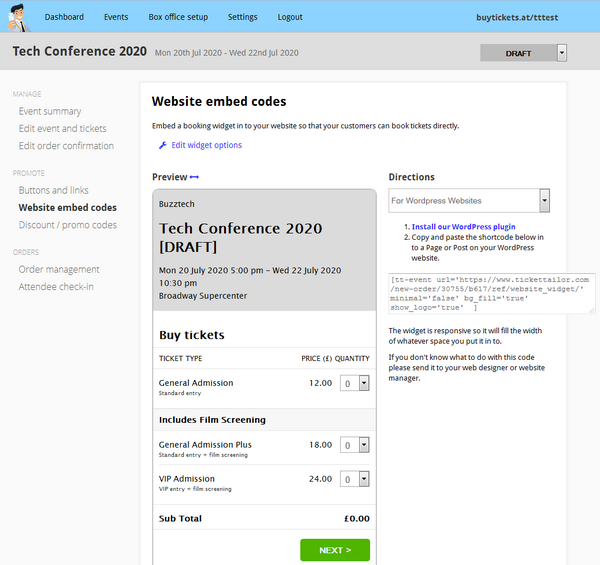
In this example there are three ticket types, two of which have been put into a ticket group. This way customers will
know that the optional film screening is only available on some tickets.
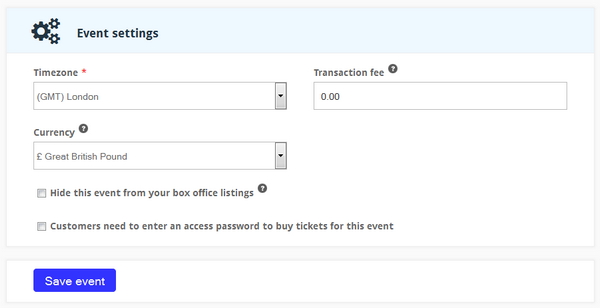
The last section of this page allows organisers to change which currency they wish to use for ticket sales, in
addition to other options. Save your event to continue.
After saving your changes, you will be taken to the summary page for your new event. Here you can access a variety of
other options. Documentation for these can be found here.

From here you can click ‘Website embed codes‘ on the left bar and click the
‘Directions’ drop-down to access the responsive WordPress widget.
First, install the WordPress plugin. The
short-code can then be added to the ‘Registration Embed Code’ field of the theme’s
registration widget, or placed (by itself) anywhere on your site.
If there are paid ticket types listed for your event, you will need to set up a payment system before the event can
be made live. The ‘[DRAFT]’ notice will automatically disappear when you open sales.
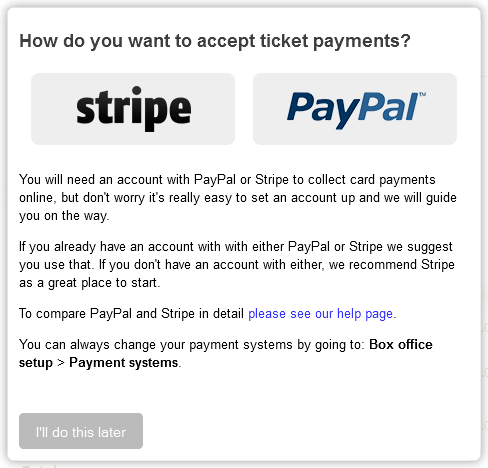
To set up a payment system, navigate back to the ‘Event summary‘ page
and click ‘Add a new payment system‘.
You can pick between Stripe and PayPal, or use both as you please. A comparison of each is available here.
Once you have set up an account and selected a payment system, you can put the event on sale, or close it later, from
the same page.
Remember that this is only a quick start guide to the Ticket Tailor WordPress widget. For a more thorough description
of the other customisation features offered by Ticket Tailor, please refer to the help documentation here.