Index
1. Getting Started With WordPress
2. Getting Started With SpeakerSumo
3. Installing SpeakerSumo
3.1 New SpeakerSumo Dashboard Sections
3.2 SpeakerSumo Customize Options
4. Customizing SpeakerSumo
4.1.1 General Site Settings – Logo
4.1.2 General Site Settings Choose a Font
4.2 General Site Settings – Social Networks
4.3 General Site Settings – Social API
4.4 General Site Settings – Contact
4.5 General Site Settings – Generate Dummy Data (Tools)
5. Setting up the data
5.1 Posts- Setting up the Blog
5.1.1 Setting up a blog page
5.2 Events
5.2.1 Setting up a full schedule page
5.3 Points of interest
5.3.1 Setting up a points of interest page ‘Map’
5.4 Books
5.4.1 Setting up a books page
5.5 Testimonials
5.5.1 Setting up a testimonial page
5.6 Topics
5.6.1 Setting up a topic page
6. Content Builder Creating page layouts
6.1 Content Builder – Testimonials
6.2 Content Builder Topics
6.3 Content Builder – Blog
6.4 Content Builder Current Events
6.5 Content Builder – Past Events
6.6 Content Builder – Schedule Showcase
6.7 Content Builder All Books
6.8 Content Builder – Call To Action
6.9 Content Builder Hero
6.12 Content Builder – Map
6.13 Content Builder Contact
6.15 Content Builder Media
6.16 Content Builder News
6.17 Content Builder Social
6.18 Content Builder – Headline
6.21 Content Builder – Text
6.22 Content Builder Image
6.23 Content Builder Columns 2
6.24 Content Builder Columns 3
6.25 Content Builder Columns 4
6.26 Content Builder Button
6.28 Content Builder – Sample Page
6.31 Content Builder – Logos
8. Best practices and Tips
9. Editing the CSS.
————–
1. Getting Started with WordPress
SpeakerSumo is a WordPress Theme (Tip: What is WordPress?) designed to showcase professional event and conference speakers.
You have made the right choice. Using SpeakerSumo requires an intermediate knowledge of WordPress.
This means that you should have basic knowledge of using WordPress. Our theme is made for WordPress.org (as opposed to WordPress.com) this means that you need a hosting provider where you can install WordPress and activate SpeakerSumo. If you don’t have a hosting provider, we suggest .
If you are not confident with WordPress, we suggest 3 actions:
- Watch the following videos: What is WordPress? – How to Install WordPress – The Dashboard and read the handy guides at WPBeginner. Everything you need to know about running a WordPress site is on the web. WordPress is an open-source software with a huge and helpful community of users. You will find answer to any concerns you may have.
- Run a test installation with the default theme and give it a whirl. Play with it and get confident with different sections of the Dashboard.
- Use WordPress Forums and Docs. Search the forums for your question, there will probably be an answer. If there isn’t don’t be afraid to ask, you will find WordPress community eager to help and friendly.
2. Getting Started With SpeakerSumo
We developed SpeakerSumo utilizing the core WordPress functionality as the basic foundation. It is designed to showcase professional speakers with great functionality and beautiful design.
Using SpeakerSumo you will be able to:
- Showcase your public speaker profile.
- Make it easy for customers find and hire you on the web.
- Show your event schedule.
- Show testimonials
- Show topic ideas
- List books you’ve written
- Show all your social media links: Email, RSS, Facebook, Twitter, Flickr, Linkedin, Pinterest etc.
- And so much more…
You will be able to do all this and more by focusing on two different areas:
- SpeakerSumo Customization
- SpeakerSumo Dashboard Sections
But first things first, let’s install and activate SpeakerSumo .
3. Installing SpeakerSumo
To install and activate SpeakerSumo on your WordPress site, head over to Appearance-> Themes and click on the Add New button.
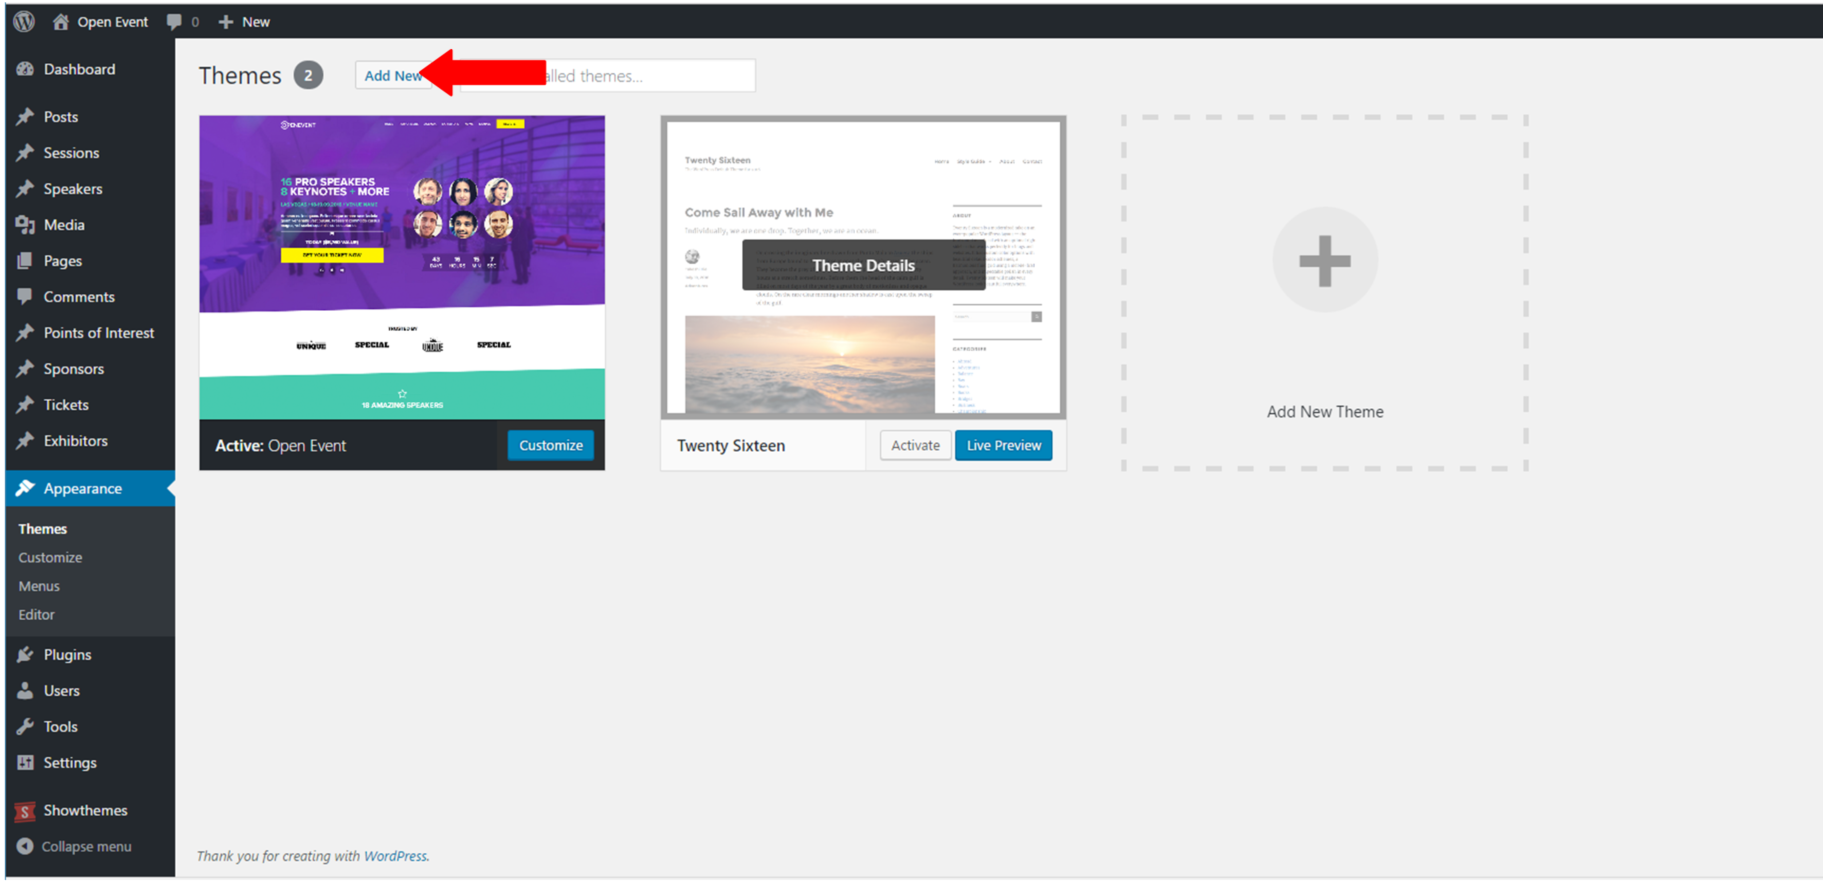
On the next screen, click on the Upload Theme button at the top.

Click on the Choose File button, locate the SpeakerSumo zip file, and then click the Install Now button.
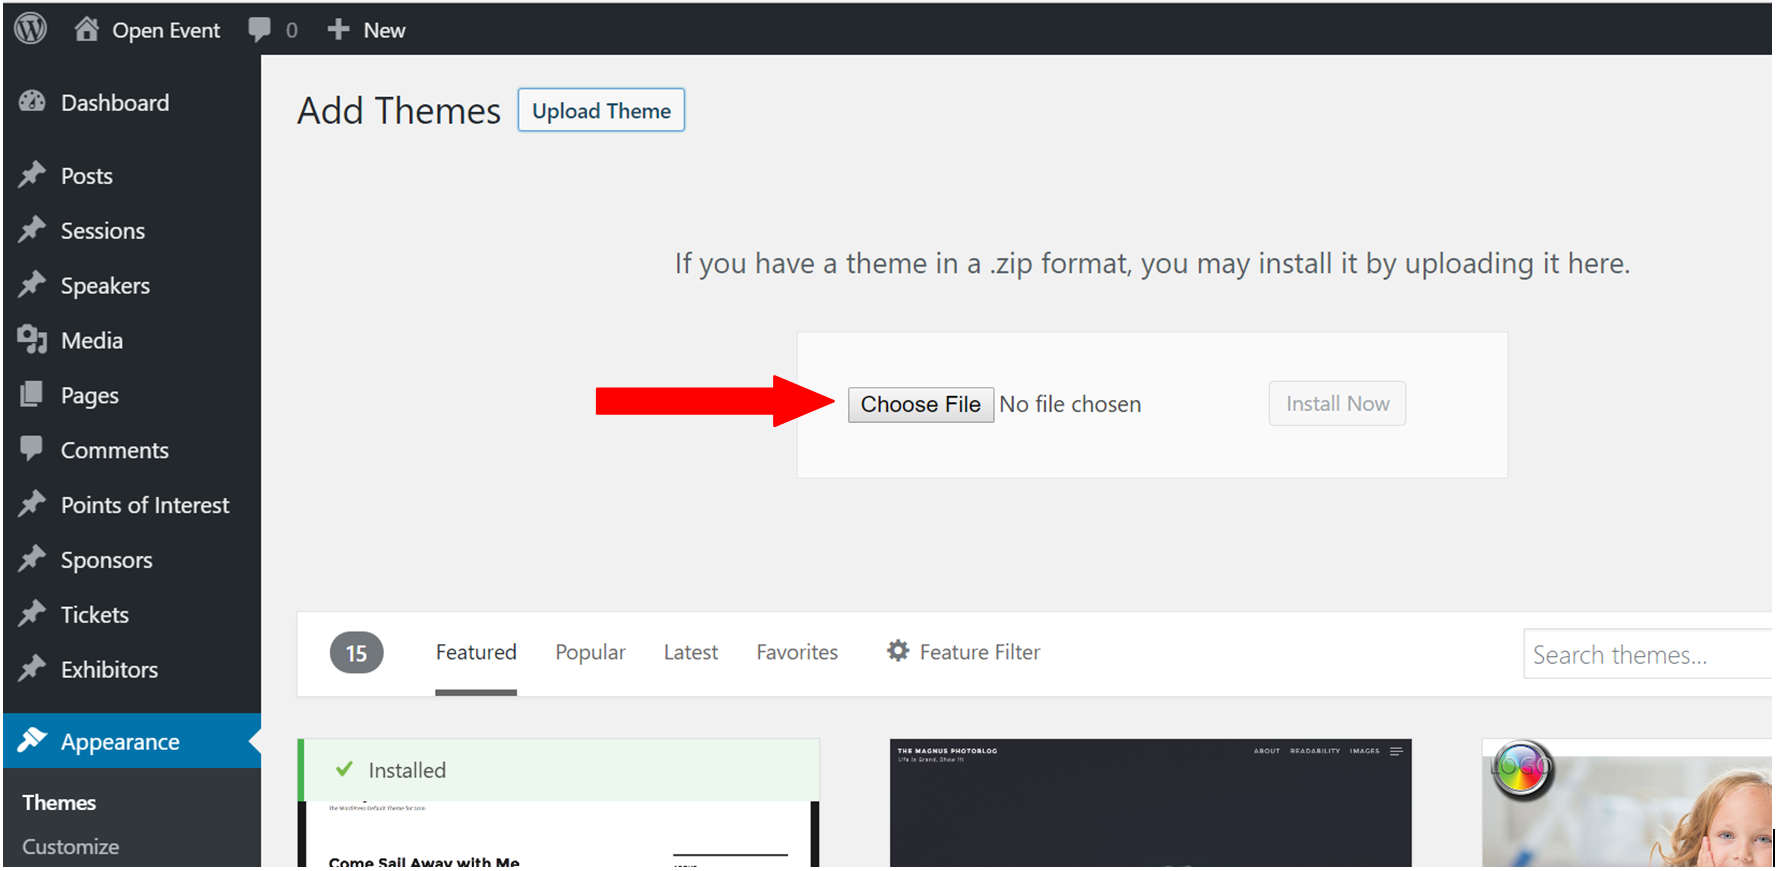
The theme will take some time to upload. When finished, click on the Activate link to activate SpeakerSumo on your site.
If you need more information about installing and activating themes in WordPress, then please read this article.
How to Update SpeakerSumo
- Create a full website backup: This step is crucial; it will allow you to recover the site in case the update couldn’t be completed.
- Save any custom CSS you have stored under Appearance > Customize > Additional CSS.
Note: If your custom CSS is inside a child theme, it shouldn’t be a problem.

- Choose a different WordPress standard theme in the meantime. You can choose one of the WordPress standard themes.

- Delete your parent theme (in this particular case, Speakersumo)

- Download the last version of your theme from your account member area.
- Install your parent theme again; the version number should change; you are free to check our changelog.
- Install the classic editor (if you don’t have that plugin already installed).
- Change the settings of your “Classic editor” >> Default editor for all users: Classic Editor.
- Activate your parent or child theme (that will depend on your initial setup)
3.1 New SpeakerSumo Dashboard Sections
Apart from the Showthemes option, fourteen sections will appear in your WordPress admin sidebar (on the left hand side of the admin area).
These sections pertain to different content types showcased on your website. We will explain each section as required.
3.2 SpeakerSumo Customize Options
Head over to Showthemes->Theme Options. Here you will see different options to customize SpeakerSumo. We will show you how to use each of these options later in this guide

4. Customizing SpeakerSumo
Now that you have installed SpeakerSumo, it is time to set it up to meet your needs. We always suggest to activate the theme on a fresh WordPress installation with no plugins and no previously populated content.
Please head over to Showthemes->Theme Options.
Let’s have a look at the available options. The Theme Options panel for the SpeakerSumo theme is divided into five sections:
- General Site Settings
- Social Networks
- Social API
- Contact
- Tools
We will walk you through each of these options. Don’t forget to click on Save Options (top-right) as you make changes.
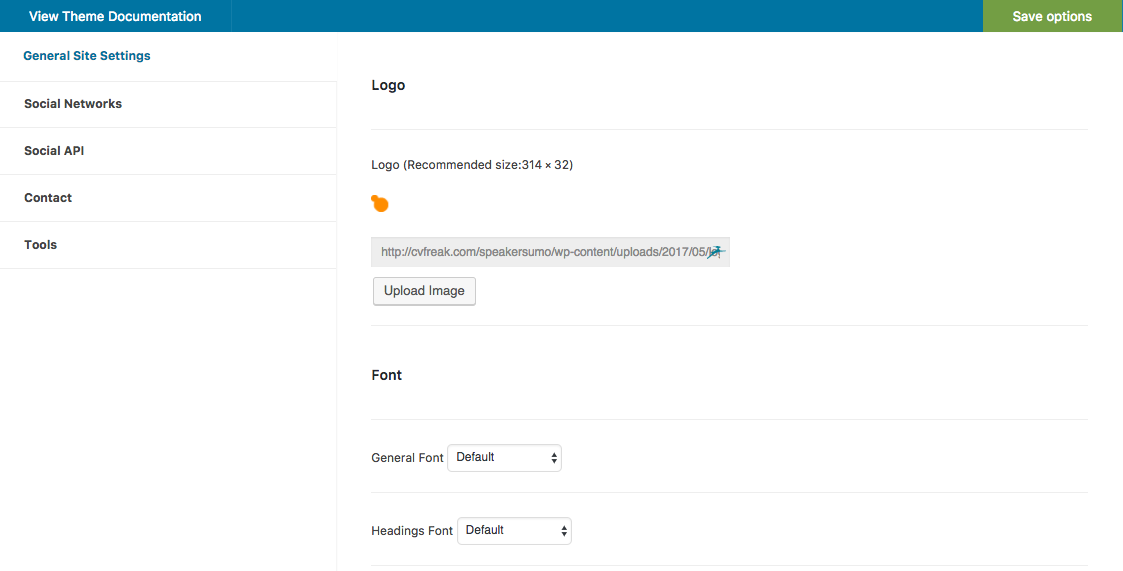
4.1.1 General Site Settings-Logo
On the General Site Settings tab, the first option is to upload a logo for your site. You will see a button for uploading a logo. Click it. Browse the image logo and crop it as required and save the changes. Make sure your chosen image has the dimensions: 314 x 32 pixels.
4.1.2 General Site Settings – Choose a Font
On the General Site Settings tab, the second option is to choose a font for your site. SpeakerSumo comes with 21 fonts in both General font and Headings font for you to choose from.
There are two categories of font available in SpeakerSumo theme:
- General Font: Mainly used for General font.
- Headings Font: Mainly used for fonts used in Headings.
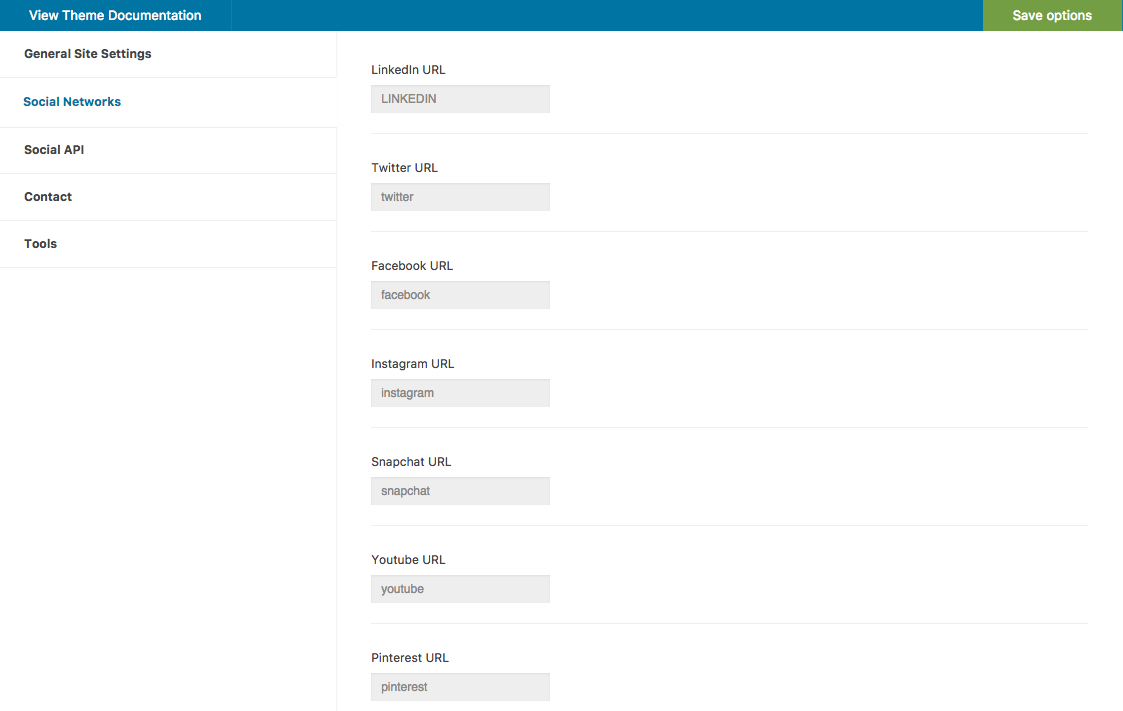
4.2 General Site Settings – Social Networks
This tab allows you to add your social media profiles for LinkedIn, Twitter, Facebook, Instagram, Snapchat, Youtube, Pinterest, Google+, Vimeo and with an option to enable Show RSS. Simply enter the URLs of your social media profiles. If you do not want to display particular network, then simply leave it blank.
To display social media icons on your website see 6.17 Content BuilderSocial
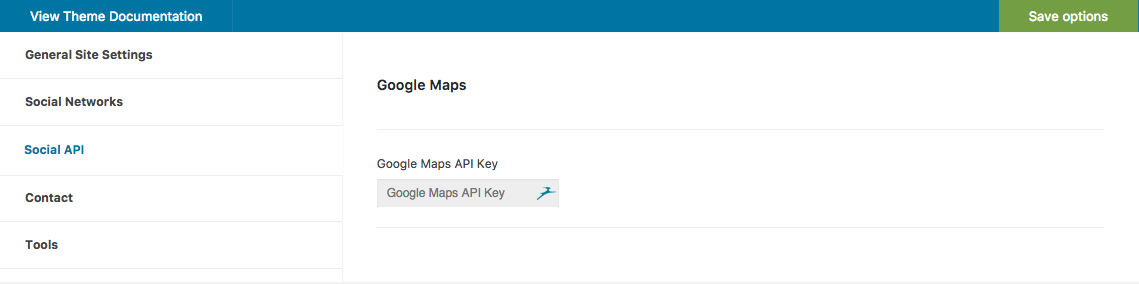
4.3 General Site Settings – Social API
This area allows you to enter the credentials needed to correctly integrate Google Maps. Simply enter the Google Maps API key into the field provided.
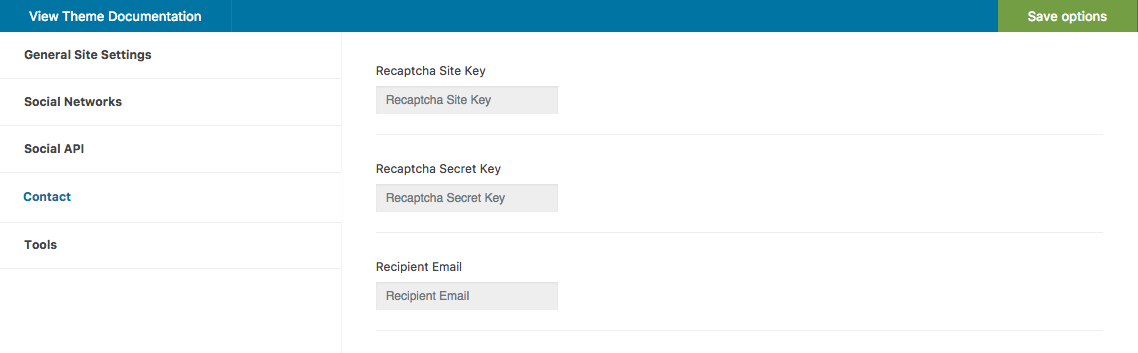
4.4 General Site Settings – Contact
This section controls the settings for the contact page.
Here is the information you need to provide:
- Recaptcha Site Key: Enter Recaptcha public key. Here is a tutorial on how to obtain Recaptcha public and private keys.
- Recaptcha Secret Key: Enter Recaptcha private key here.
- Recipient Email: Enter the email address to send forms to.
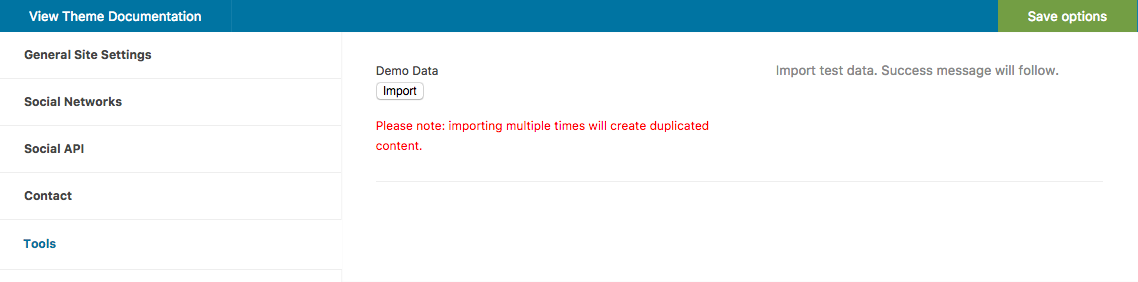
4.5 General Site Settings – Generate Dummy Data (Tools)
The last tab on Theme Options screen is Tools. SpeakerSumo provides a function to populate the site with dummy content.
Please read this carefully. By clicking on the Import button; you will populate the whole site with dummy content. While this is great if you don’t know where to start, it is non-revertible. Therefore you will need to delete the unnecessary content generated. This can take quite some time. We suggest to populate with dummy content only if you are not sure about how WordPress works and want just to edit content and pictures. Note: Populating the site with dummy content does not exclude reading this guide as you may still need to refer to it to change the populated options.
5. Setting up the data
In this section we will show you how to add posts, events, books, venues and topics to your profile.
5.1 Posts Setting up the blog
You are going to use Posts to let people know about your latest news. The posts will display as a classic column design on your news page and when clicked will open up the relevant post details.
All of the styling for this can be customised to your liking when you set up the news page but first we will need to configure a few things:
1. Head to Settings->Permalinks. In Common Settings select Post Name and click on Save Changes.
2. Head to Posts-> Categories. Here, hange the name of the default Uncategorized category by clicking on Edit. Rename it to Blog or News or whatever name you prefer to call your blog page and click Update.
So now, wherever you want it to link to all your posts, you can link to all your posts like this: http://yourdomain.com/category/blog
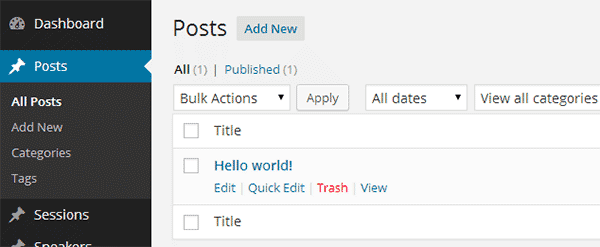
That’s all, now go to Dashboard > Posts. You may see a sample post called “Hello world!”. Place your mouse over and some options will appear, click on Trash. We will delete this post to have our list of posts blank.
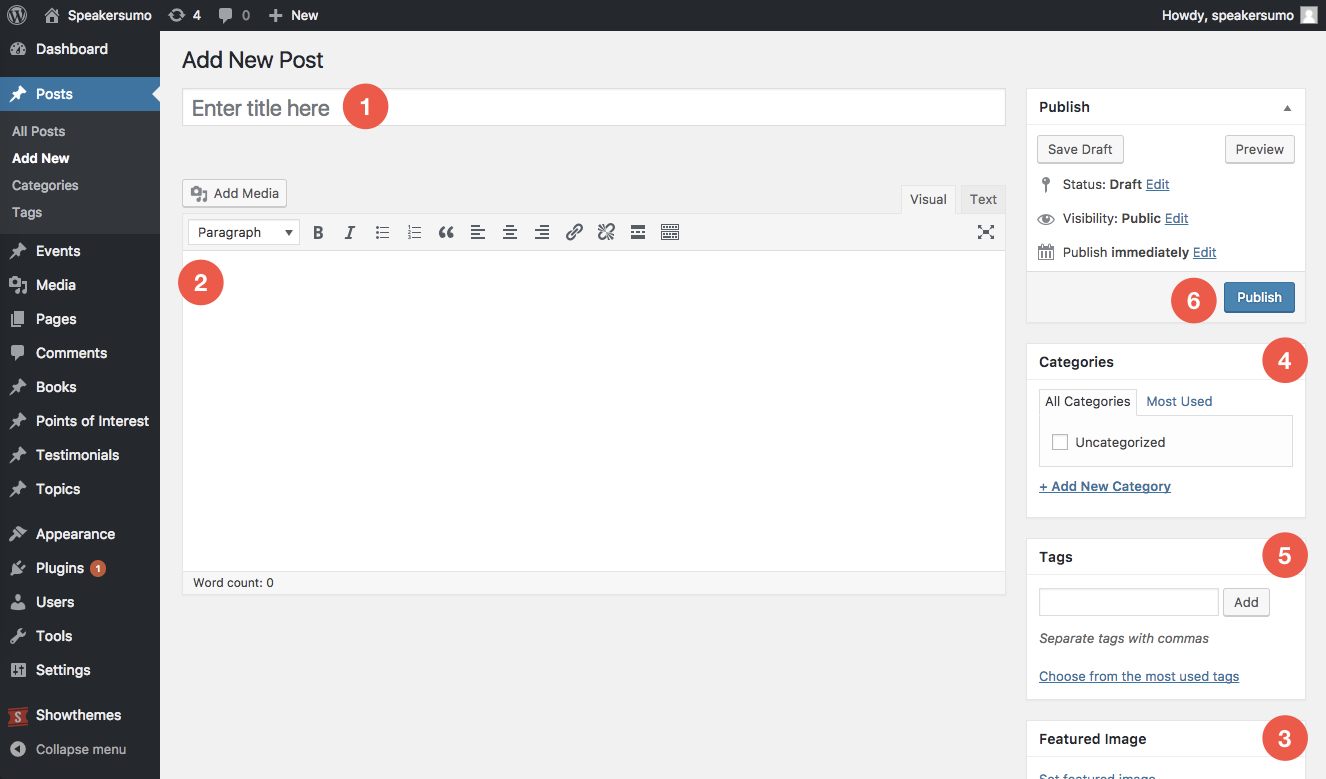
To create a new Post go to Dashboard » Posts » Add New.
Here is the information you have to provide:
- Title: enter a title for your new post.
- Description: enter the content of your Post. You can include some media if you want.
- Featured Image: click on Set featured image to provide a picture to be displayed for this post. Recommended size is 350×361.
- Categories: always select the default category Blog, so all your posts can be listed by the ‘Blog’ category. But besides create more categories if you want. Click on Add New Category and a field will appear to enter your category and then click on the Add New Category button. Your new category will appear above checked.
- Tags: enter some tags for the post. If no tags have been provided yet, enter some separated by commas and click on Add. If they have, you can choose them from the Most Used tags. Either way, tags will appear below.
- And of course, click on Publish.
5.1.1 Setting up a blog page
SpeakerSumo can display your posts in an individual page, giving you control over the styling and customization for how this is displayed.
To set up your blog page, navigate to Page -> Add New

- Title: Provide a title for your blog page.
- Show Editor: an edit box will appear.
- Frontend Editor: Here you will get option of frontend editor, frontend editor is available only for already created pages not for new pages. Frontend editor has the purpose of editing fields of components that are already added via backend builder if you click on an already saved page with components.
- Publish: Save, ublish or update your page
- Page attributes: leave these as they are
- Featured image: set featured image for the particular post from here.
- Content Builder:
- select Blog to add a list of blog posts to your page
- Click Edit to change the title shown at the top of the page and change styling elements.

5.2 Events
SpeakerSumo allows you to easily add past, present and upcoming events to your profile.
To create an event, go to Dashboard » Events » Add New.
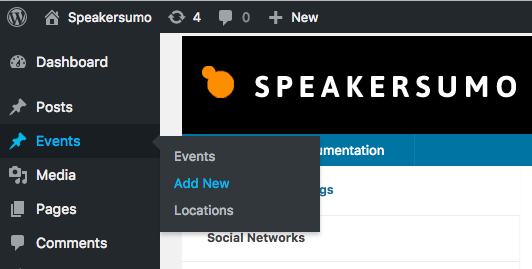
- Title: add the name of the event.
- Body Text: add a description of the event.
- Publish: Don’t forget to publish when you’re finished!
- Event Details:
- Date – The date of the event
- Start Time – The start time of the event
- End Time – The end time of the event
- Session Locations: add the event location.
- Featured Image: Set a featured image for the event.
So now if you come back to Dashboard » Events » Events you will see your new event in the list. Repeat this simple process for all your events.
Note: All Events MUST have a date assigned to them. Not inputting a date may result in the event not being visible.
5.2.1 Setting up a full schedule page
SpeakerSumo has a fresh new look for the dedicated schedule page and setting up your full schedule page couldn’t be simpler.
Navigate to Page -> Add New.
- Title: Provide a title for your full page schedule.
- Show Editor: Shows a text edit field
- Frontend Editor: Here you will get option of frontend editor, frontend editor is available only for already created pages, not for new pages. Frontend editor has the purpose of editing fields of components that are already added via backend builder if you click on an already saved page with components.
- Publish: save publish or update your page.
- Page attributes: leave these as they are.
- Featured Image: Set a Featured Image for the session.
- Content Builder:
- Select Schedule Showcase, you will then see the following options.
- Click Edit: edit title and styles according your requirements.

5.3 Points of interest
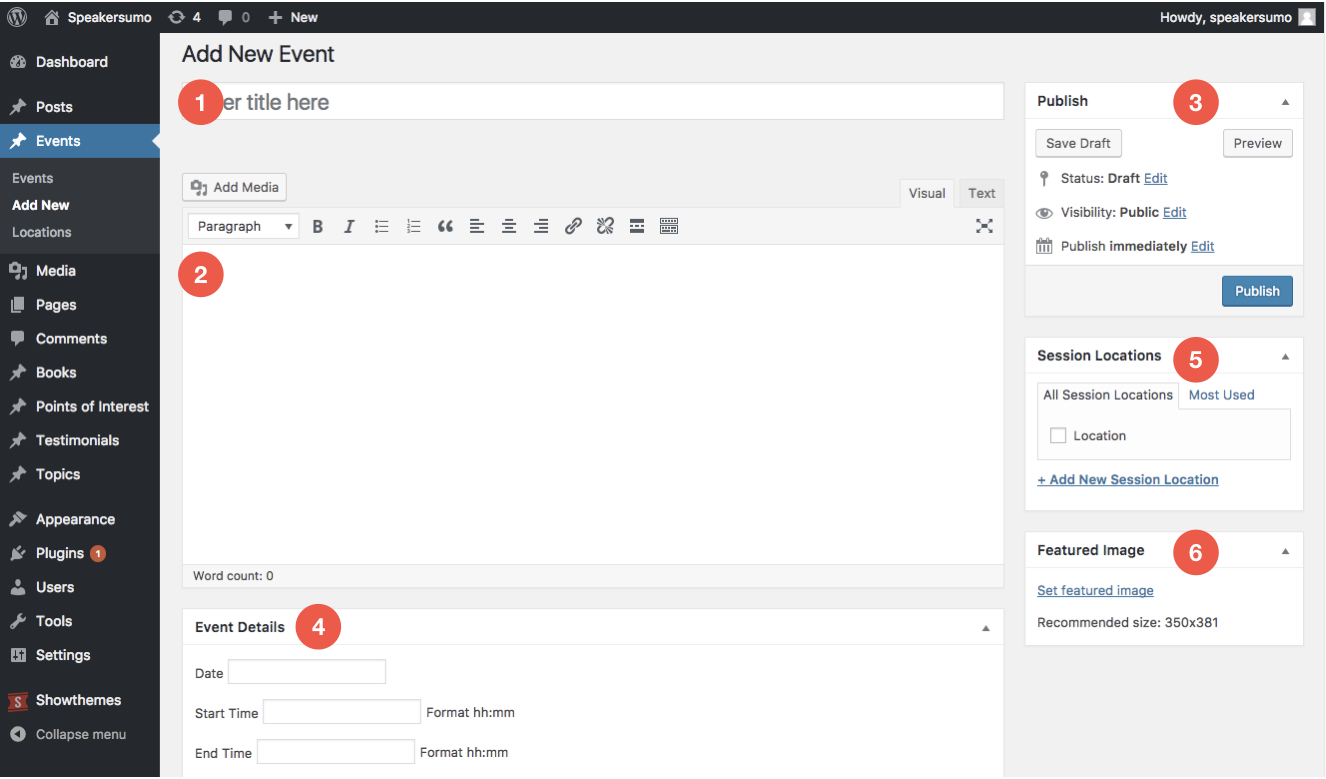
To add a place to the list of venues you’ve spoken at, go to Dashboard » Points of Interest » Add New.
Here you will have to provide some information:
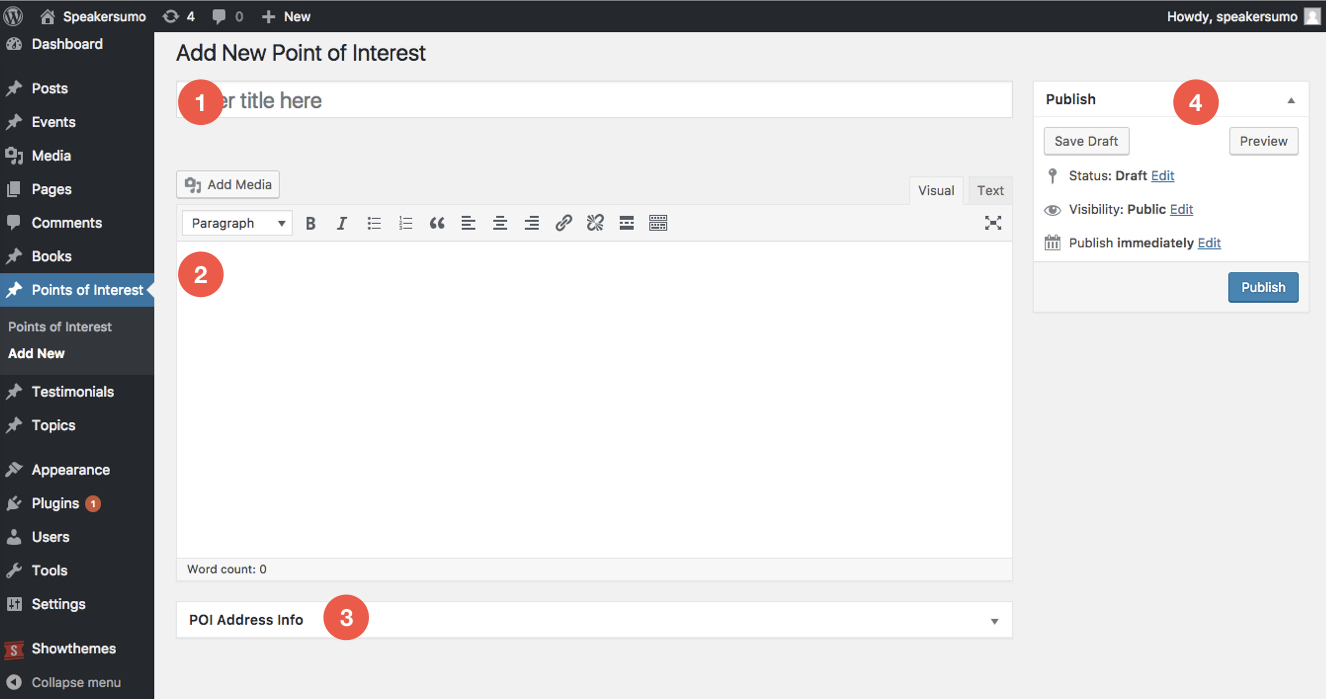
- Title: the name of the new Point of Interest.
- Description: add a description for the Point of Interest.
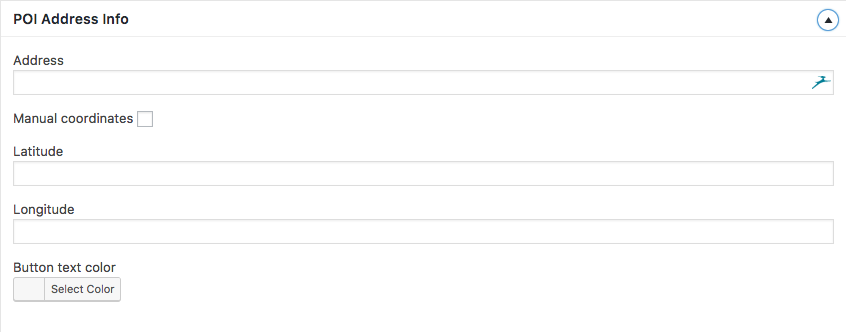
- POI Address Info: provide here the street, city, zip code and country of the Point of Interest. You can also set coordinates manually, by clicking the box in front of Manual coordinates and filling latitude and longitudes.
- And of course, click on Publish.
5.3.1 Setting up a Points Of Interest page ‘Map’
SpeakerSumo offers a dedicated page to display all the venues you’ve spoken at. This page displays a map with your points of interest conveniently located as markers which when clicked, display the information you entered for that point of interest. To set up your points of interest page, navigate to Page -> Add New.

- Title: Provide a title for your points of interest page
- Show Editor: Shows a text edit field
- Frontend Editor: Here you will get option of frontend editor frontend editor is available only for already created pages not for new pages. Frontend editor has the purpose of editing fields of components that are already added via backend builder if you click on an already saved page with components.
- Content Builder: select map, you will then see the available options for the following
- Content Builder: now the item for content builder will display. The points of interest will then display and you will need to drag and drop the POI you wish to appear on the page from the top section to the bottom.
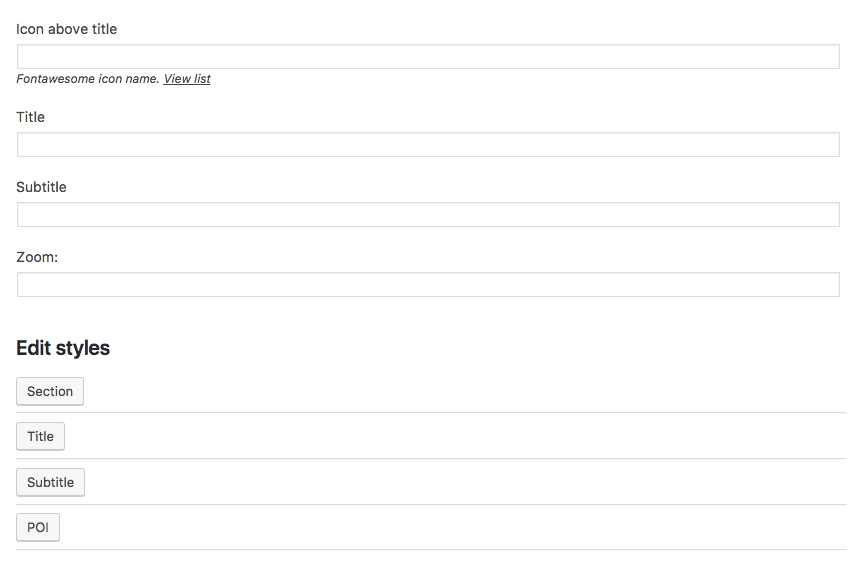
- Content Builder: Here you can give title, icon above title and zoom option.
- Edit Styles: Use edit styles according to section , title, map area, POI and set preferences for colours, font sizes and margins.
- Page attributes: leave these as they are.
- Featured Image: Set a featured image for the page.
- Publish: Don’t forget to publish when you’re finished
5.4 ‘“ Books
To add a new book, go to Dashboard » Books » Add New.
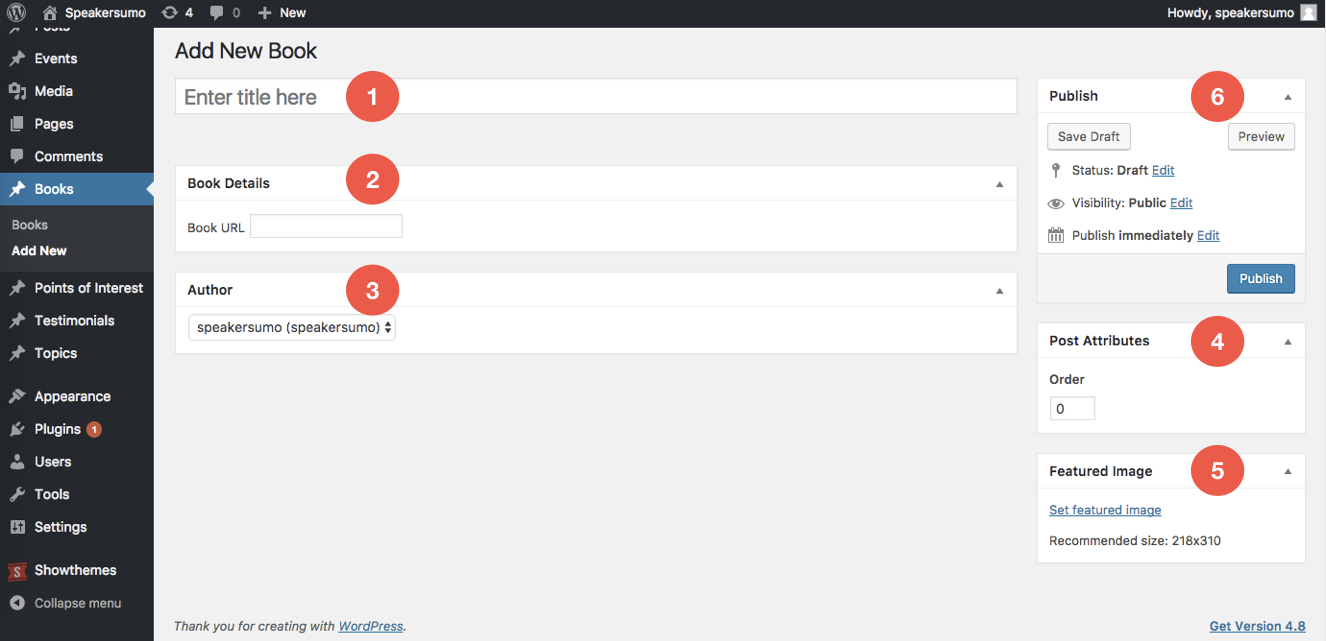
Here you will have to provide some information about the your book:
- Title: the name of the book.
- Book details: Set a URL for the book.
- Author: Set the book author.
- Post Attributes: Leave these as they are.
- Featured Image: this is where you set the Featured Image that will be displayed whenever a book is shown on the website. Recommended size is 218×310.
- Publish: Don’t forget to publish!
5.4.1 Setting up a books page
SpeakerSumo offers a dedicated page to display all of your books with many different options for customization. This page displays a grid of images for your books. To set up your books page, navigate to Page -> Add New
- Title: Provide a title for your books page.
- Show Editor: Shows a text edit field
- Frontend Editor: Here you will get option of frontend editor, frontend editor is available only for already created pages not for new pages. Frontend editor has the purpose of editing fields of components that are already added via backend builder if you click on an already saved page with components.
- Content Builder: select books, you will then see the available options for the following
- Title: The title of the books section.
- Style: Set style options for the section.
- Featured Image: this is where you set the Featured Image that will be displayed whenever a book is shown on the website.
- Page attributes: leave these as they are
- Publish: Lastly, save publish or update your page.
5.5 Testimonials
To add a new testimonial, go to Dashboard » Testimonials » Add New.
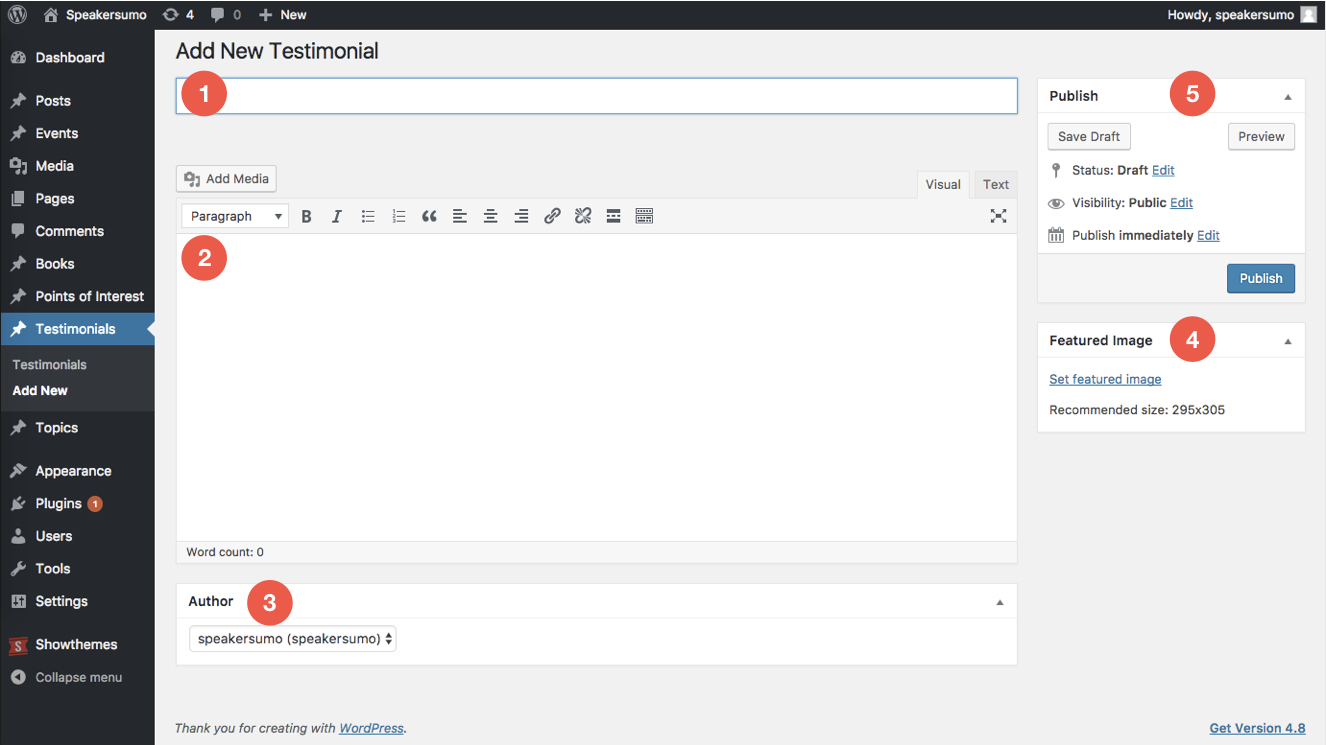
Here you provide the testimonial itself:
- Title: The name of the person giving the testimonial.
- Details: The main body text of the testimonial.
- Author: Post author.
- Featured Image: Use this to show a photo of the person giving the testimonial. Recommended size is 295×305.
- Publish: Don’t forget to publish!
5.5.1 Setting up a testimonials page
SpeakerSumo offers a dedicated page to display all of your testimonials with many different options for customization. To set up your testimonials page, navigate to Page -> Add New

- Title: Provide a title for your testimonials page.
- Show Editor: Shows a text edit field
- Frontend Editor: Here you will get option of frontend editor, frontend editor is available only for already created pages not for new pages. Frontend editor has the purpose of editing fields of components that are already added via backend builder if you click on an already saved page with components.
- Content Builder: select Testimonials, you will then see the available options for the following
- Title: The title of the testimonials section.
- Style: Set style options for the section.
- Featured Image: this is where you set the Featured Image for the page.
- Page attributes: leave these as they are
- Publish: Lastly, save publish or update your page.
5.6 ‘“ Topics
SpeakerSumo comes complete with a topics option that allows you to showcase your speaking topics. These topics can then link to other pages on your site or to external links.
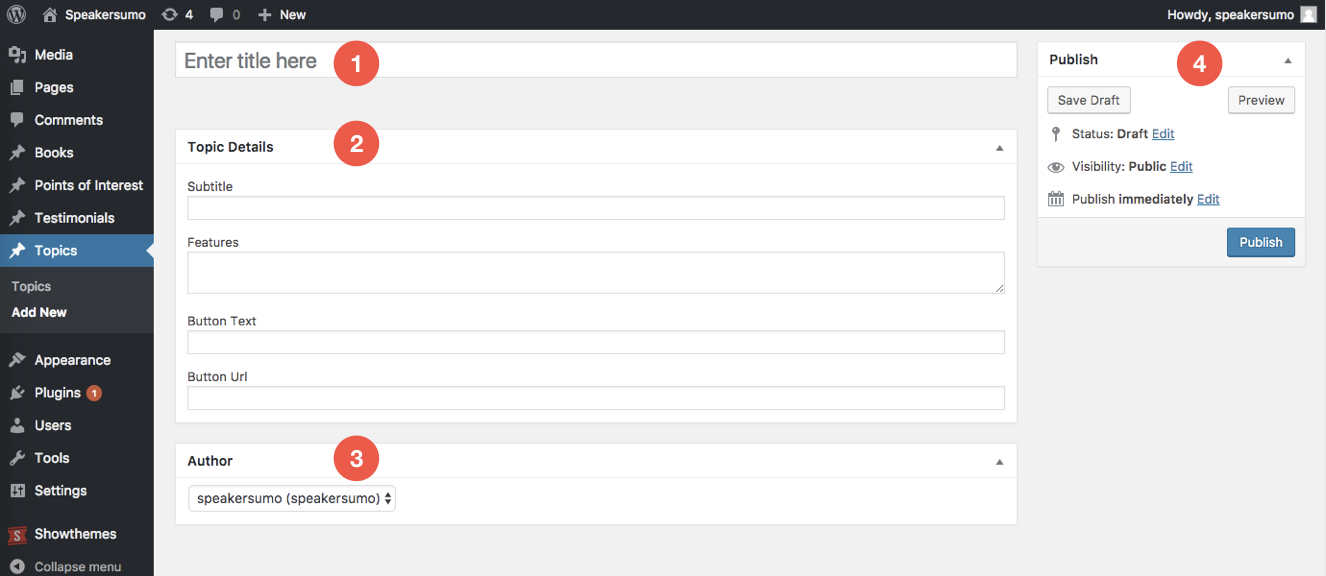
To add a new topic, go to Dashboard >> Topics >> Add new
Here you will have to provide some information about your topic:
- Title: the title of the topic.
- Topic Details: Here you can add the subtitle, topic features, button text and the button link.
- Author: Add author.
- Publish: And of course, click on Publish or Update. Repeat this process for all the topics you want to display on your website.
5.6.1 Setting up a topics page
SpeakerSumo can display a list of your chosen topics .To set up your topics page, navigate to Page -> Add New
- Title: Provide a title for your topics page.
- Show Editor: Shows a text edit field
- Frontend Editor: Here you will get option of frontend editor, frontend editor is available only for already created pages, not for new pages. Frontend editor has the purpose of editing fields of components that are already added via backend builder if you click on an already saved page with components.
- Featured Image: this is where you set the Featured Image for the page.
- Page attributes: leave these as they are.
- Content Builder: select Topics, you will then see the available options for the following:
- The topics will then display and you will need to drag and drop the topic you wish to appear on the page from the top section to the bottom, you can rearrange the exhibits here to change the order they are displayed on the page.
- This area allows you to set the title & icon above title option.
- Edit Styles: Edit colors and text sizes, margins etc or leave blank for default settings in edit styles such as section, title, hero, filter.
- Publish: Lastly, save publish or update your page.
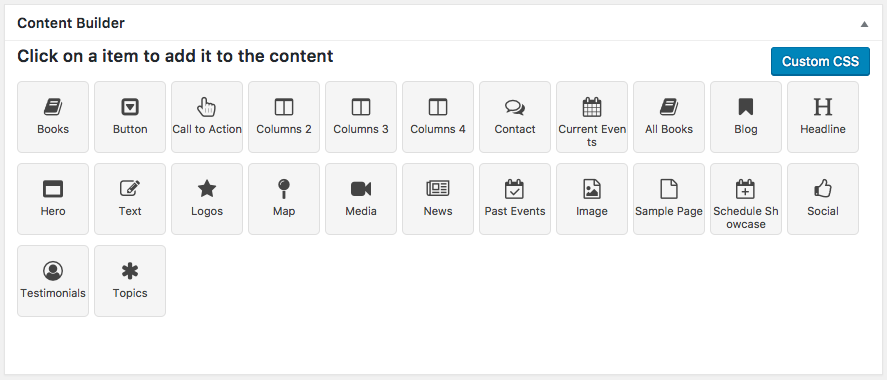
6. Content Builder Creating page layouts
SpeakerSumo has been developed with a custom content builder to enable you to easily create page layouts using the powerful features of the theme such as current events, past events, schedule, blogs, topics and more.
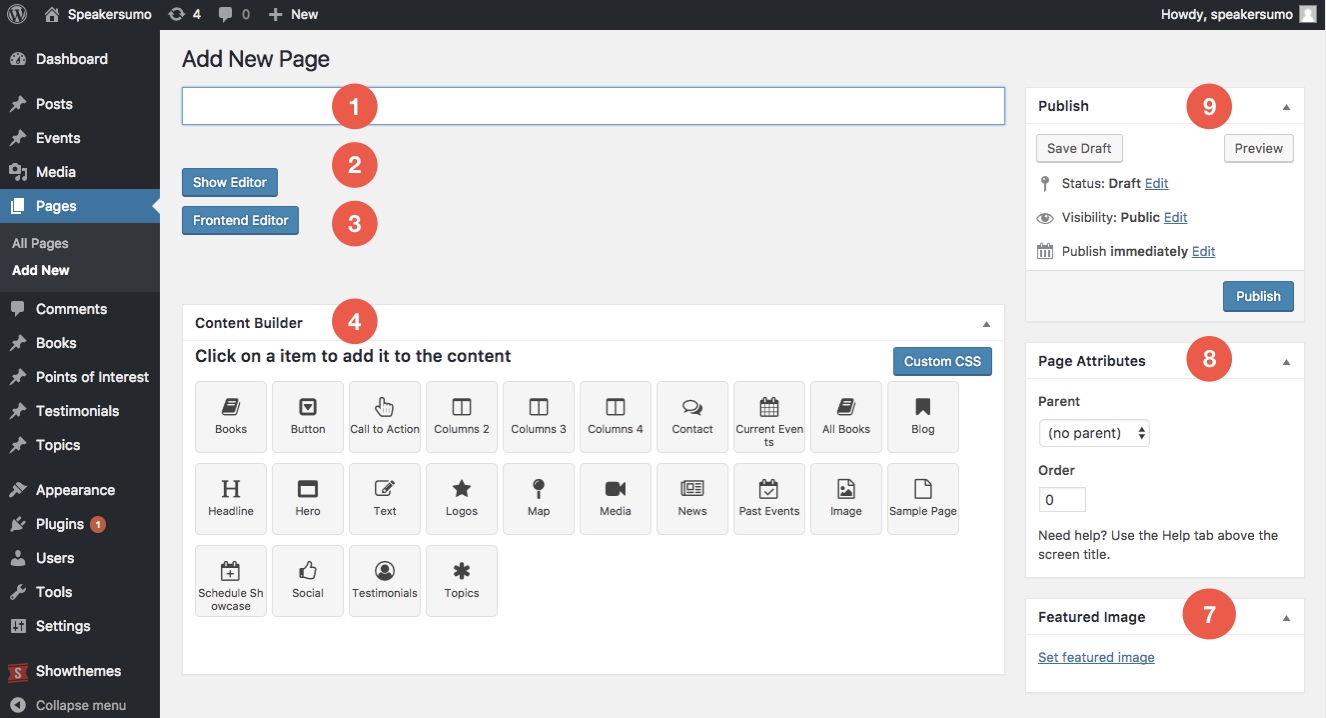
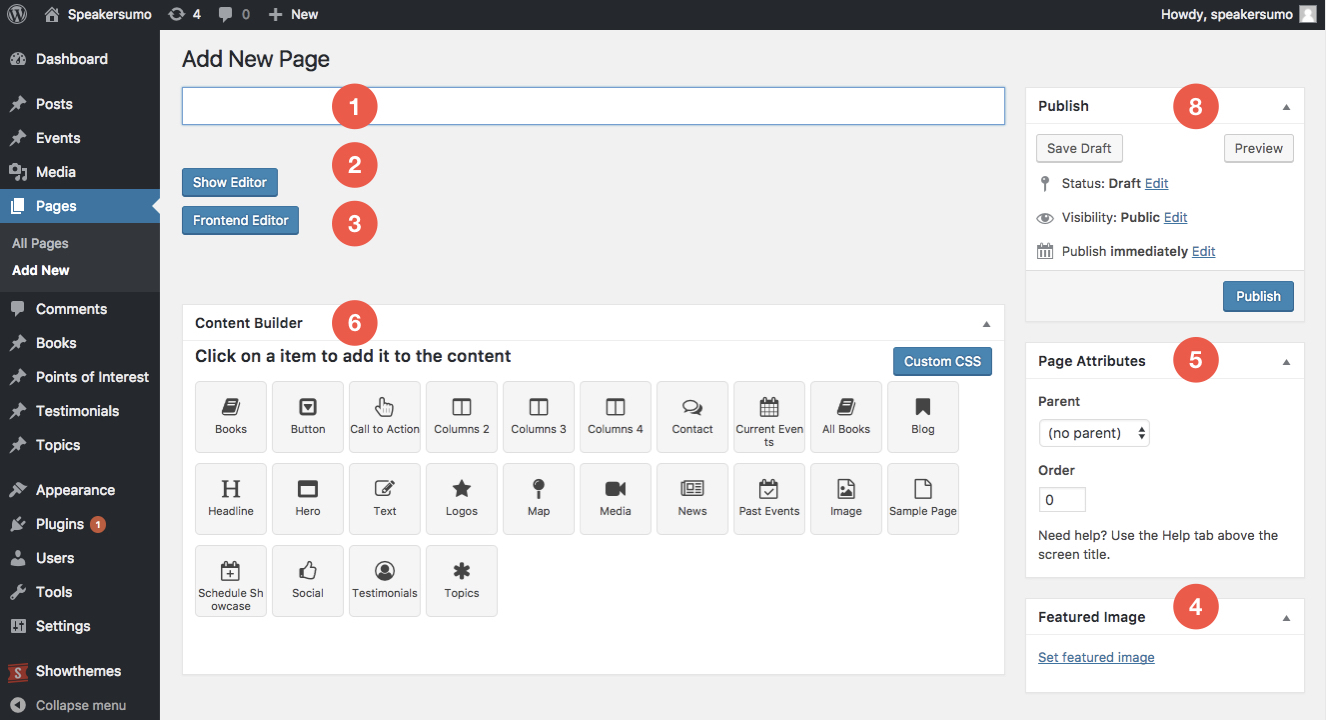
The content builder is available for use on pages. To use the content builder, you must first create a new page by navigating to Page -> Add New
The content builder gives you easy access to the customizable options available for each specific element.
When you click on any of the content builder elements, they are instantly added below the content builder icons and become part of the page.
To edit the section, you click on the blue Edit button to the left-hand side of the new element to begin editing. Please note: clicking on the Reset to Default button next to the Edit button will reset the contents of that element to default and you will lose any customization you have made. You can add as many elements to the page as you like, giving you great flexibility in the way you can create your website.
6.1 Content Builder ‘“ Testimonials
The Testimonials element allows you to add a testimonials section to pages on your website.
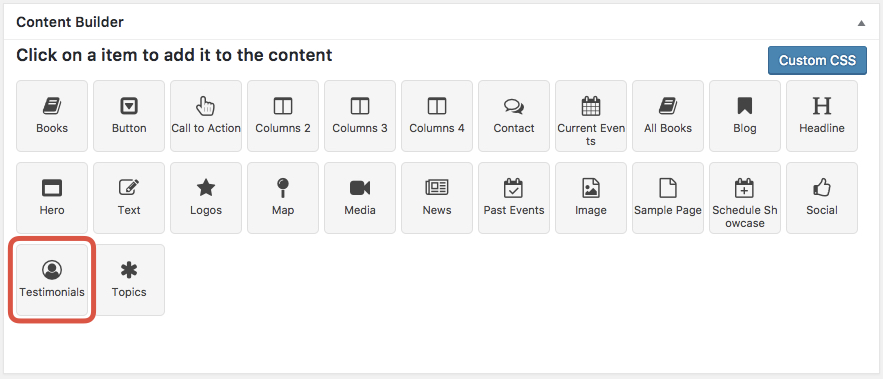
- Select the Testimonials icon from the Content Builder to add the a testimonials block to your page.
- Click the blue Edit button to see the options for this section.
- Use the search box to find the testimonials you wish to list.
- Drag the testimonials you want to keep from the top section to the bottom section and drag the icons to rearrange.
- Icon above title: leave this blank.
- Title: add the title of your testimonials section here.
- Subtitle: add a subtitle for your testimonials section here.
- Edit Styles: here you can edit the visual styles for the section including padding, color, size and alignment of text.
- Click Save Draft at the top of the page.
- Click Preview at the top of the page to see your new section in situ.
- When you’re finished, click Publish to publish the page.
6.2 Content Builder ‘“ Topics
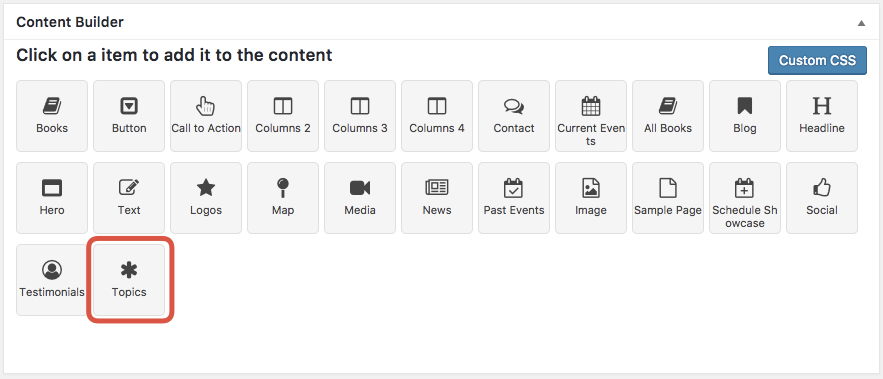
The Topics element allows you to showcase a selection of speaking topics on a web page.
- Select the Topics icon from the Content Builder to add a topics block to your page.
- Click the blue Edit button to see the options for this section.
- Use the search box to find the topics you wish to list.
- Drag the topics you want to keep from the top section to the bottom section and drag the icons to rearrange.
- Icon above title: leave this blank.
- Title: add the title of your topics section here.
- Edit Styles: here you can edit the visual styles for the section including padding, color, size and alignment of text.
- Click Save Draft at the top of the page.
- Click Preview at the top of the page to see your new section in situ.
- When you’re finished, click Publish to publish the page.
6.3 Content Builder ‘“ Blog
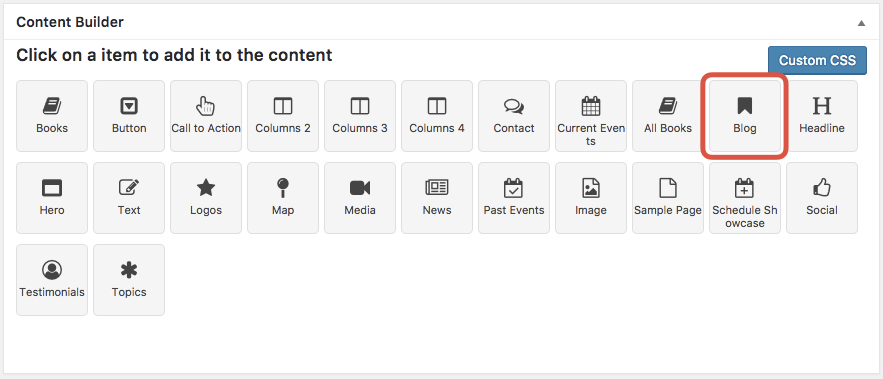
- Click the blue Edit button to see the options for this section.
- Use the search box to find the blog posts you wish to list.
- Drag the blog posts you want to keep from the top section to the bottom section and drag the icons to rearrange.
- Icon above title: leave this blank.
- Title: add the title of your blog section here.
- Edit Styles: here you can edit the visual styles for the section including padding, color, size and alignment of text.
- Click Save Draft at the top of the page.
- Click Preview at the top of the page to see your new section in situ.
- When you’re finished, click Publish to publish the page.
6.4 Content Builder – Current Events
The Current Events element allows you to add a current events section to pages on your website.
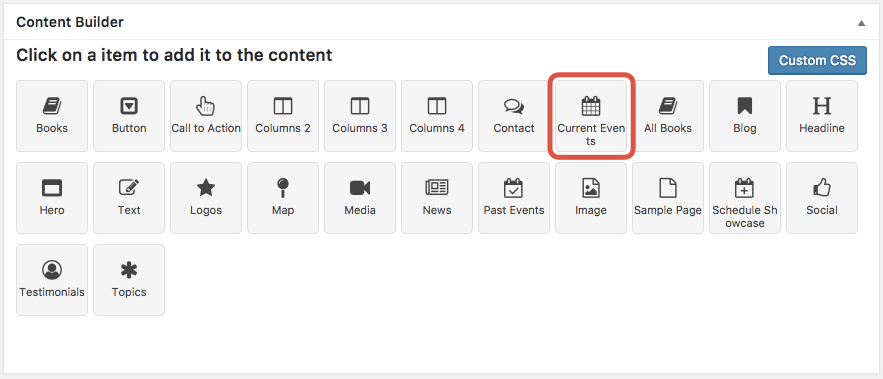
- Select the Current Events icon from the Content Builder to add the current events block to your page.
- Click the blue Edit button to see the options for this section.
- Use the search box to find the events you wish to list.
- Drag the events you want to keep from the top section to the bottom section and drag the icons to rearrange.
- Icon above title: leave this blank.
- Title: add the title of your current events section here.
- Button Text: add the text for your button here.
- Button URL: add the URL for the web page you want to the button to link to.
- Edit Styles: here you can edit the visual styles for the section including padding, color, size and alignment of text.
- Click Save Draft at the top of the page.
- Click Preview at the top of the page to see your new section in situ.
- When you’re finished, click Publish to publish the page.
6.5 Content Builder – Past Events
The Testimonials element allows you to add a past events section to pages on your website.
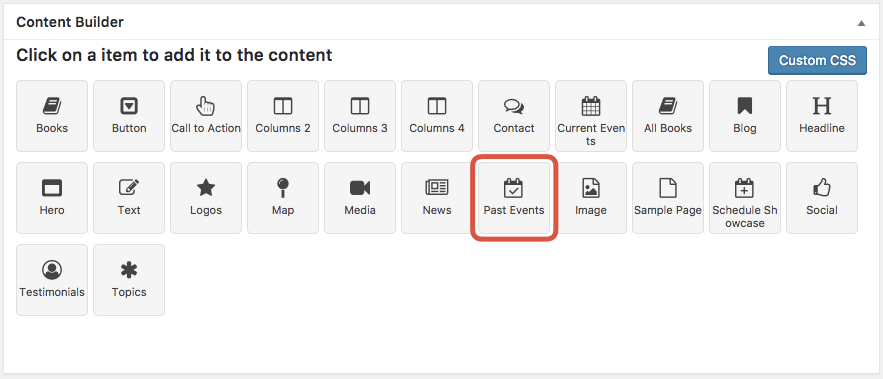
- Select the Past Events icon from the Content Builder to add the past events block to your page.
- Click the blue Edit button to see the options for this section.
- Use the search box to find the events you wish to list.
- Drag the events you want to keep from the top section to the bottom section and drag the icons to rearrange.
- Icon above title: leave this blank.
- Title: add the title of your past events section here.
- Button Text: add the text for your button here.
- Button URL: add the URL for the web page you want to the button to link to.
- Edit Styles: here you can edit the visual styles for the section including padding, color, size and alignment of text.
- Click Save Draft at the top of the page.
- Click Preview at the top of the page to see your new section in situ.
- When you’re finished, click Publish to publish the page.
6.6 Content Builder – Schedule Showcase
The Schedule Showcase element allows you to display a grid containing your schedule which can be filtered by date, place and other variables.
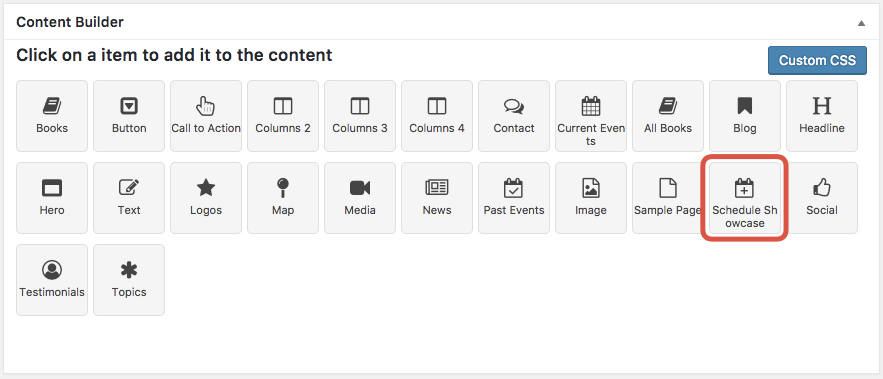
- Select the Schedule Showcase icon from the Content Builder to add the a schedule block to your page.
- Click the blue Edit button to see the options for this section.
- Icon above title: leave this blank.
- Title: add the title of your schedule section here.
- Edit Styles: here you can edit the visual styles for the section including padding, color, size and alignment of text.
- Click Save Draft at the top of the page.
- Click Preview at the top of the page to see your new section in situ.
- When you’re finished, click Publish to publish the page.
6.7 Content Builder – All Books
The All Books element allows you to add a section showing all books listed on your website.
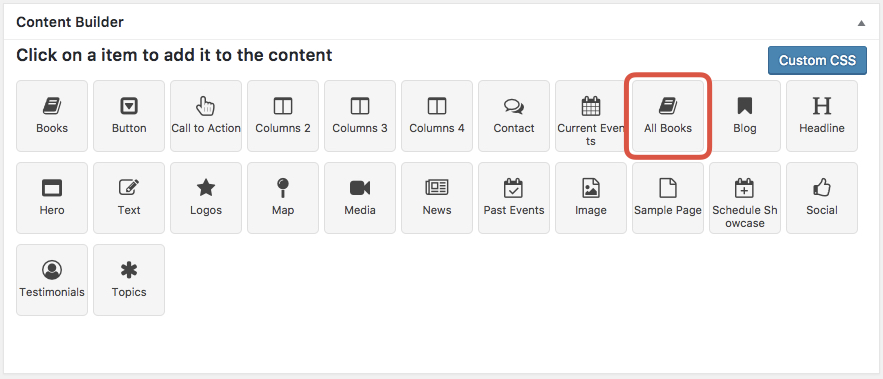
- Select the All Books icon from the Content Builder to add the a books block to your page.
- Click the blue Edit button to see the options for this section.
- Title: add the title of your books section here.
- Edit Styles: here you can edit the visual styles for the section including padding, color, size and alignment of text.
- Click Save Draft at the top of the page.
- Click Preview at the top of the page to see your new section in situ.
- When you’re finished, click Publish to publish the page.
Back to top Wizzle
6.8 Content Builder – Call to Action
The Call To Action element allows you to add a custom call to action button to pages on your website.
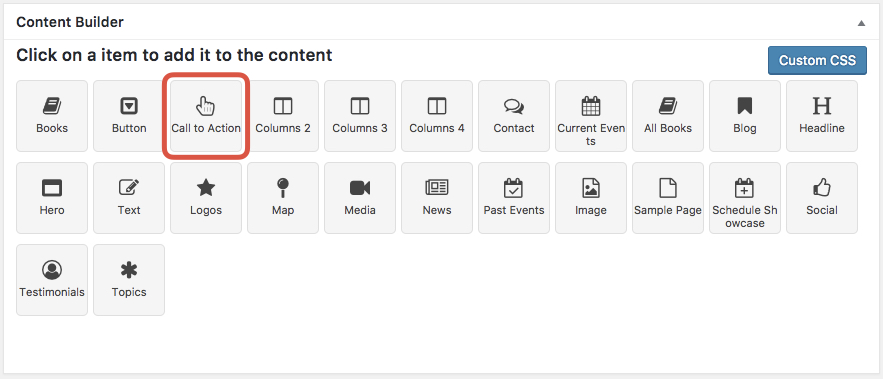
- Select the Call To Action icon from the Content Builder to add a call to action button.
- Click the blue Edit button to see the options for the button.
- Icon above title: leave this blank.
- Title: add the title of your testimonials section here.
- Background image: add a background image to your call to action. Recommended size: 1440 × 438.
- Background image tablet: add a background image optimized for tablet viewing to your call to action. Recommended size: 769 × 295.
- Background image mobile: add a background image optimized for mobile viewing to your call to action. Recommended size: 321 × 295.
- Button Text: add the text for your call to action button here.
- Button URL: add the URL for your call to action button here.
- Edit Styles: here you can edit the visual styles for the section including padding, color, size and alignment of text.
- Click Save Draft at the top of the page.
- Click Preview at the top of the page to see your new section in situ.
- When you’re finished, click Publish to publish the page.
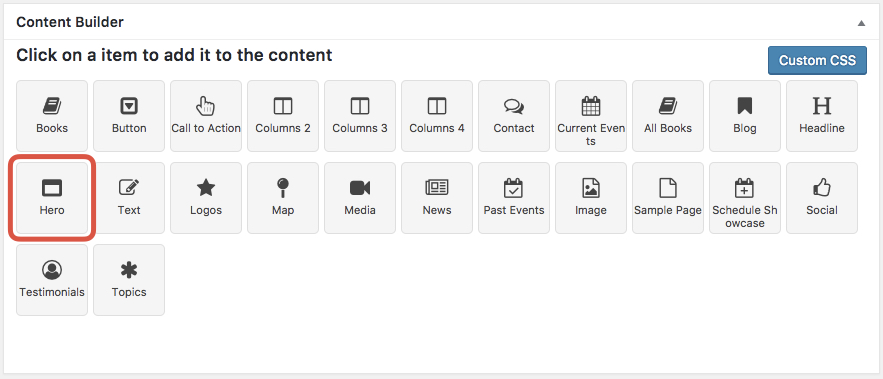
6.9 Content Builder “Hero”
The Hero element allows you to add a Hero section, these can be used to highlight key content or show videos.
How to add a Hero Content Builder item:
-
- Select the Hero icon from the Content Builder to add the Hero block to your page.
- Click the blue Edit button to see the options for this section.

- Adjust the settings according to the Layout and your site requirements.

- Layout: Choose the layout type from the three options: Default, Big and, Background Video.
- Title: Title of this section.
- Description under title: Add a subtitle for this section.
- Call to Action Button Text: Text for your call to action button.
- Call to Action Button URL: URL for your call to action button.
- Hide Call to Action Button: Choose this option to hide the call to action button.
- YouTube Video ID:
For this video: https://www.youtube.com/watch?v=c664fvAZ1nI

Use what’s after the “v=”, in this particular example, it will be the code c664fvAZ1nI
Note: All these background images are required or else the theme will show an empty image as background. - Background image: Background image on Desktop. Recommended size: 1440×664 px, Big layout: 1440×873 px.
- Background image tablet: Background image used for tablet devices. Recommended size: 768×754 px, Big layout: 768 x 957 px.
- Background image mobile: Background image used for mobile. Recommended size: 326×448 px, Big layout: 326 x 585 px.
Note: All these background images are required or else the theme will show an empty image as background. - Edit Styles: here you can edit the visual style of Section, Title, Description and the call to action button.
For each element is different, for example, on Title, you can adjust the color, font size, and alignment.

- When you’re finished, click Publish or Update to publish the page.

Here is a quick example of the default layout.

The Big layout will use more space.

And the video layout will use the chosen video as the background.

6.12 Content Builder – Map
The Map element allows you to display a map on your page that displays your points of interest (venues you’ve spoken at). These points of interest can be conveniently grouped together to give you greater control of the display.
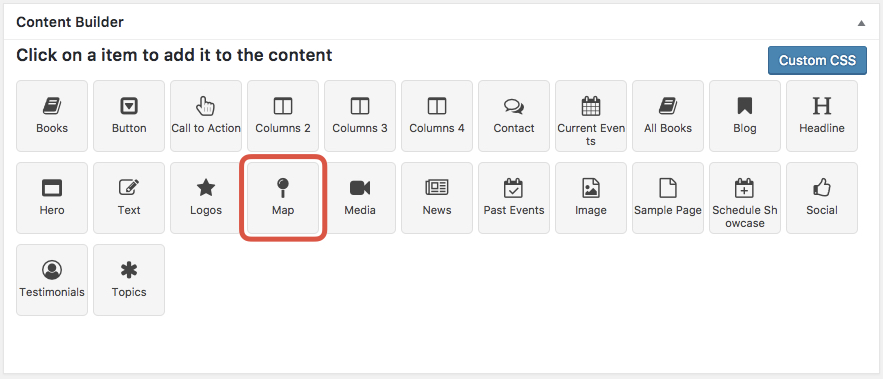
- Select the Map icon from the Content Builder to add the map block to your page.
- Click the blue Edit button to see the options for this section.
- Use the search box to find the points of interest (venues) you wish to list.
- Drag the points of interest you want to keep from the top section to the bottom section and drag the icons to rearrange.
- Icon above title: leave this blank.
- Title: add the title of your map section here.
- Subtitle: add a subtitle for your map section here.
- Zoom:
- Edit Styles: here you can edit the visual styles for the section including padding, color, size and alignment of text.
- Click Save Draft at the top of the page.
- Click Preview at the top of the page to see your new section in situ.
- When you’re finished, click Publish to publish the page.
6.13 Content Builder Contact
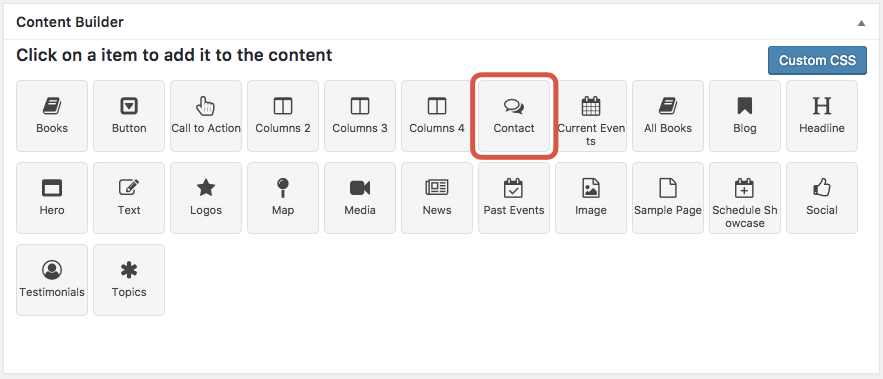
The Contact element allows you to display a contact form and contact details on your page so that people can get in touch with you.
- Select the Contact icon from the Content Builder to add the a contact form to your page.
- Click the blue Edit button to see the options for this form.
- Use the search box to find the testimonials you wish to list.
- Drag the testimonials you want to keep from the top section to the bottom section and drag the icons to rearrange.
- Icon above title: leave this blank.
- Title: add the title of your contact form section here.
- Subtitle: add a subtitle for your testimonials section here.
- Address title: add a title/heading above your address.
- Address line 1: enter your address here.
- Address line 2: enter your address here.
- Address line 3: enter your address here.
- Phone title: add a title/heading above your phone details.
- Phone 1: enter your phone number here.
- Phone 2: enter your phone number here.
- Phone 3: enter your phone number here.
- ‘Send message’ Text: enter the text for the ‘send message’ button.
- Edit Styles: here you can edit the visual styles for the section including padding, color, size and alignment of text.
- Click Save Draft at the top of the page.
- Click Preview at the top of the page to see your new section in situ.
- When you’re finished, click Publish to publish the page.
6.15 Content Builder – Media
The Media element allows you to add pictures or videos to your pages and set customization options for their appearance.
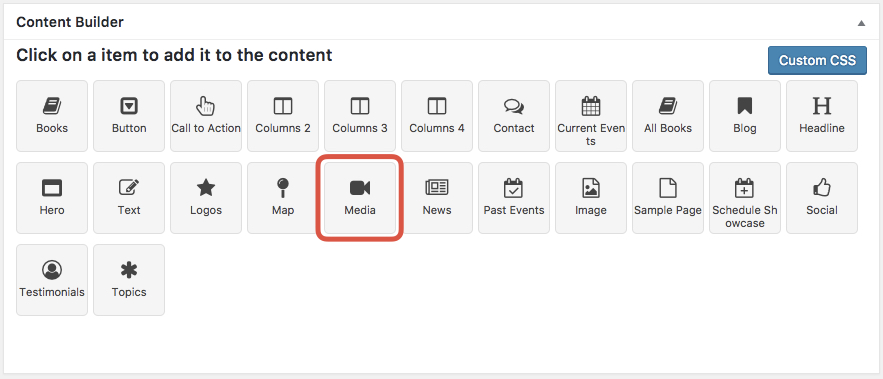
- Select the Media icon from the Content Builder to add the media block to your page.
- Click the blue Edit button to see the options for this section.
- Click on Add Pictures to add images using the WordPress media browser or enter a video URL (YouTube or Vimeo) in the field below.
- Icon above title: leave this blank.
- Title: add a title for your media here.
- Load More Button Text: add the text for your ‘Load More’ button.
- Edit Styles: here you can edit the visual styles for the section including padding, color, size and alignment of text.
- Click Save Draft at the top of the page.
- Click Preview at the top of the page to see your new section in situ.
- When you’re finished, click Publish to publish the page.
6.16 Content Builder News
The News element allows you to display articles from your blog on your page.
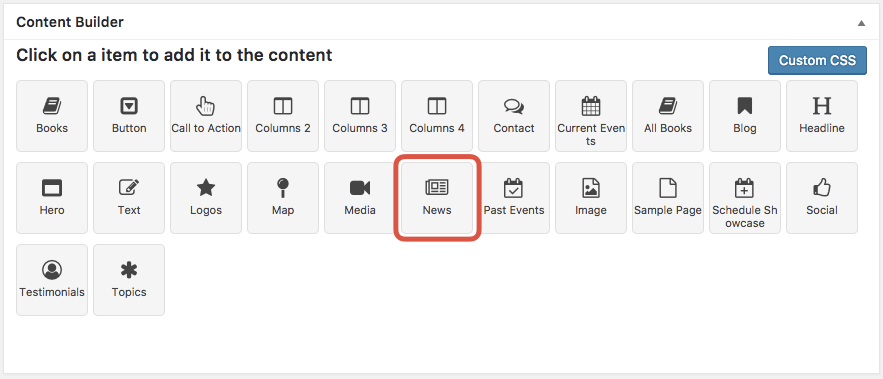
- Select the News icon from the Content Builder to add a news block to your page.
- Click the blue Edit button to see the options for this section.
- Use the search box to find the articles you wish to list.
- Drag the articles you want to keep from the top section to the bottom section and drag the icons to rearrange.
- Icon above title: leave this blank.
- Title: add the title of your news section here.
- “View all” button text: add the text for your view all button here.
- “View all” button URL: add the URL for your view all button here.
- Edit Styles: here you can edit the visual styles for the section including padding, color, size and alignment of text.
- Click Save Draft at the top of the page.
- Click Preview at the top of the page to see your new section in situ.
- When you’re finished, click Publish to publish the page.
6.17 Content Builder Social
The Social element allows you to display icons and links to your social media accounts, as defined in the theme settings.
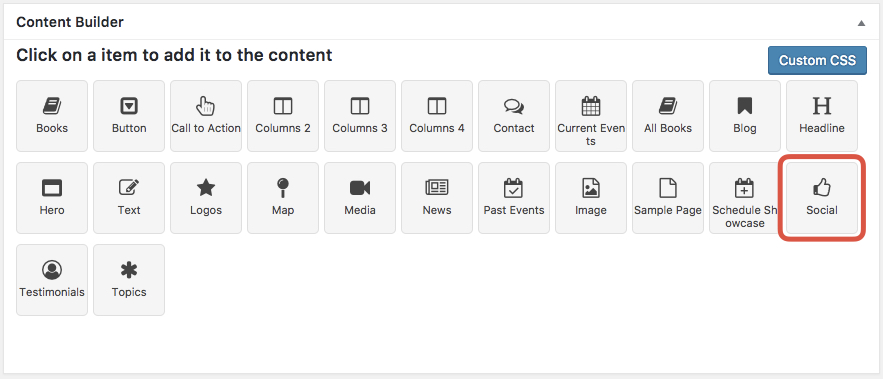
- Content Builder: select the Social element and you will then see the available options for the Social element.
- Your available social media accounts will be shown in the top gray box, simply drag and drop the accounts you want to display on your page to the second gray box below.
- Icon above title: leave this blank.
- Title: add the title of your social section here.
- Subtitle: add a subtitle for your testimonials section here.
- Edit Styles: here you can edit the visual styles for the section including padding, color, size and alignment of text.
- Click Save Draft at the top of the page.
- Click Preview at the top of the page to see your new section in situ.
- When you’re finished, click Publish to publish the page.
6.18 Content Builder Headline
The Headline element displays a headline of text.
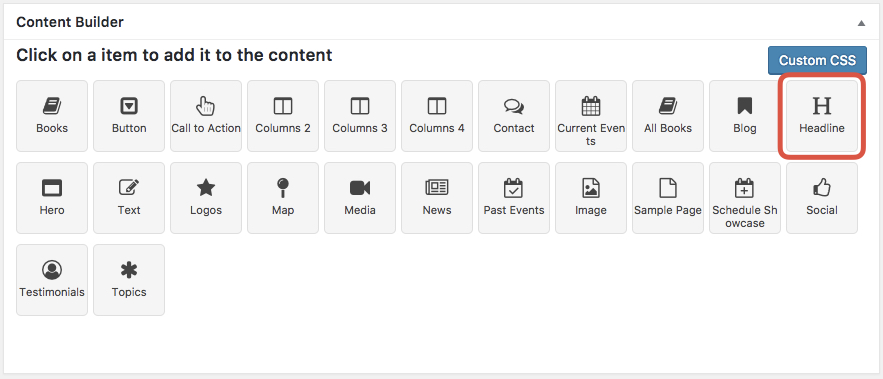
- Select the Headline icon from the Content Builder to add the a headline block to your page.
- Click the blue Edit button to see the options for this section.
- Text: add the text for your headline.
- Edit Styles: here you can edit the visual styles for the section including padding, color, size and alignment of text.
- Click Save Draft at the top of the page.
- Click Preview at the top of the page to see your new section in situ.
- When you’re finished, click Publish to publish the page.
6.21 Content Builder Text
The Text element allows you to add text and images to your page.

- Content Builder: select the Text element,
and you will then see the available options for the text element. - Content Builder will allow you to add text and media in much the same way as the standard WordPress text editor.
- You will also find options below for setting the text alignment, line spacing, text color and margins.
- Edit Styles: Edit colors and text sizes, margins etc or leave blank for default settings in edit styles such as section, content.
6.22 Content Builder – Image
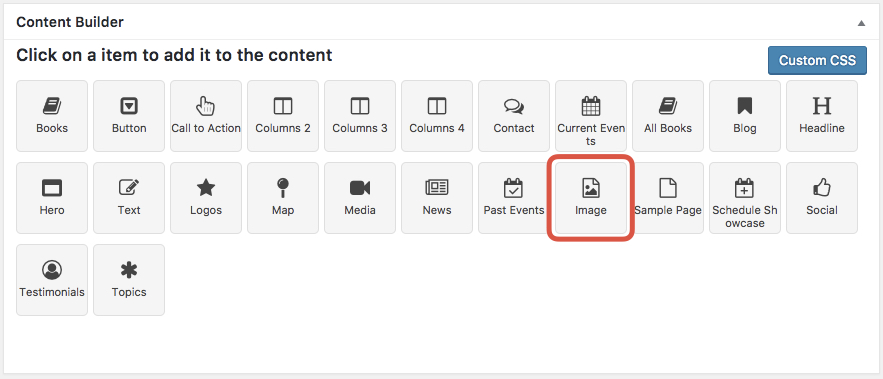
- Content Builder: select Image element and
- you will then see the available options for the image element.
- In picture you can add a picture by clicking the add button and selecting the image from your media library. If you click on remove button then the image will be removed.You can add alt text (a brief description of the image) and specify the exact image width and height if you wish. You can also set the alignment for the image and any margins you may like.
- Edit Styles: Edit colors and text sizes, margins etc or leave blank for default settings in edit styles such as section, image.
6.23 Content Builder Columns 2
The Columns 2 element allows you to display content on your page in two columns.
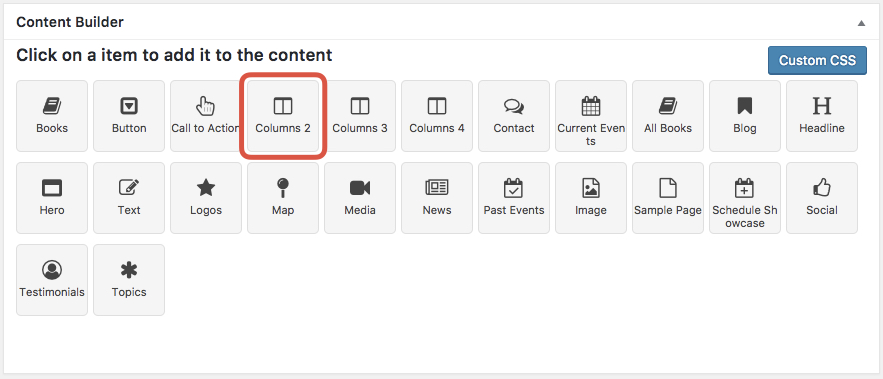
- Content Builder: select Columns 2 element and
- Content 1: you will then see the available options for the Columns 2 element.
- Content 2: Here you can add your text and/or pictures that will appear in the left side column and can add your text and/or pictures that will appear in the right side column
- Edit Styles: Edit colors and text sizes, margins etc or leave blank for default settings in edit styles such as section, content1 and content 2.
6.24 Content Builder Columns 3
The Columns 3 element allows you to display content on your page in three columns.
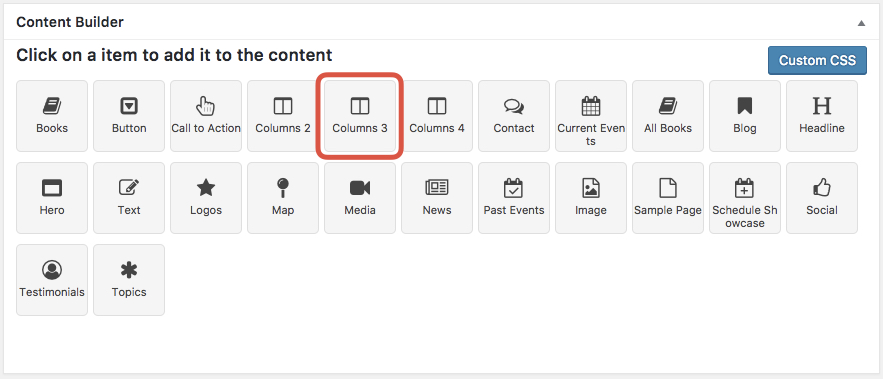
- Content Builder: select the Columns 3 element and you will then see the available options for the Columns 3 element.
- Content 1: Here you can add your text and/or pictures that will appear in the left side column
- Content 2: Here you can add your text and/or pictures that will appear in the middle column.
- Content 3: Here you can add your text and/or pictures that will appear in the right side column.
- Edit Styles: Edit colors and text sizes, margins etc or leave blank for default settings in edit styles such as section,content1, content2, content3.
6.25 Content Builder ‘“Columns 4
The Columns 4 element allows you to display content on your page in four columns.
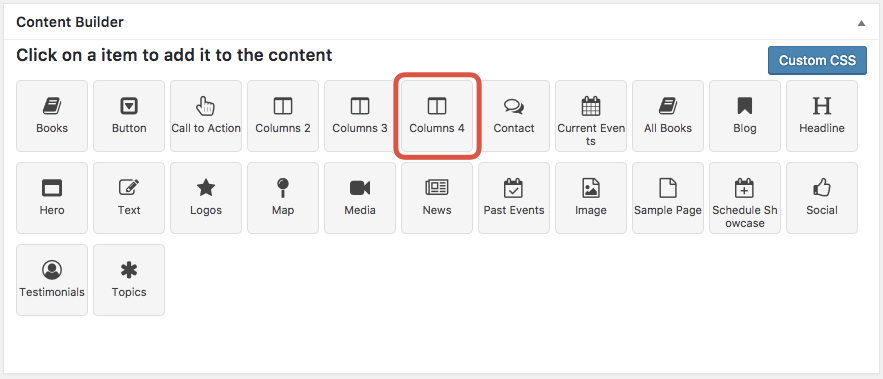
- Content Builder: select Columns 4 element and you will then see the available options for the Columns 4 element.
- Content 1: Here you can add your text and/or pictures that will appear in the first column.
- Content 2: Here you can add your text and/or pictures that will appear in the second column.
- Content 3: Here you can add your text and/or pictures that will appear in the third column.
- Content 4: Here you can add your text and/or pictures that will appear in the fourth column.
- Edit Styles: Edit colors and text sizes, margins etc or leave blank for default settings in edit styles such as section, content1, content2, content3, content4.
6.26 Content Builder Button
The Button element allows you to place a highly customizable button on your page.
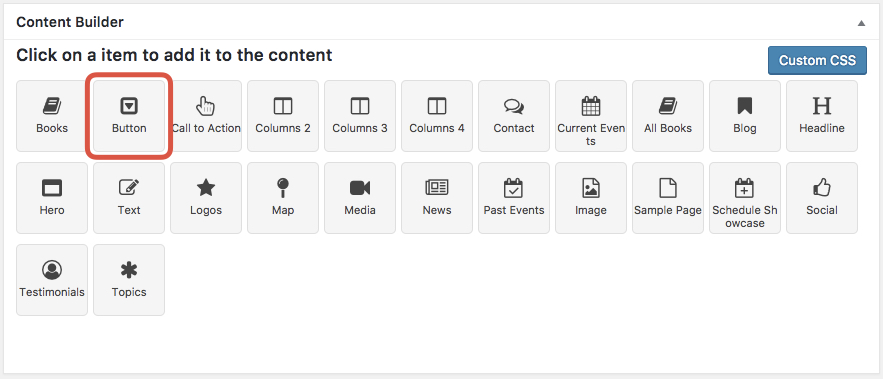
- Content Builder: select Button element and
- you will then see the available options for the Button element.
- Add text and URL link for the button.
- Edit Styles: Edit colors and text sizes, margins etc or leave blank for default settings in edit styles such as section and button.
6.28 Content Builder Sample Page
The content builder comes with a sample page element that allows you to easily create a page type layout with header hero image that you can add or remove, title, subtitle and content. It is a great way to quickly and easily add page content to any page.
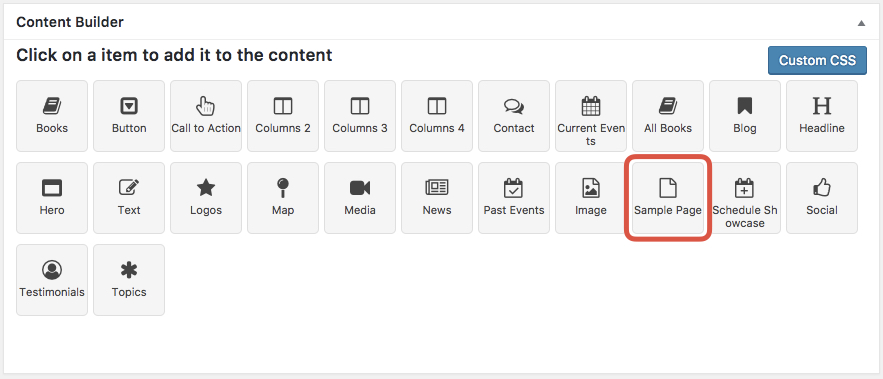
- Content Builder: select the Sample page element and
- you will then see the available options for the Sample page element.
- Add icon above title, title, media and content for your page.
- Edit Styles: Edit colors and text sizes, margins etc or leave blank for default settings in edit styles such as section, title, hero, content.
6.31 Content Builder – Logos
The Logos element lets you create logo boxes that adds a feature box with beautiful icons on the homepage of your WordPress site. These logos box shows the important thing about your company. It has proven to be a highly engaging technique in presenting your brand to new customers.
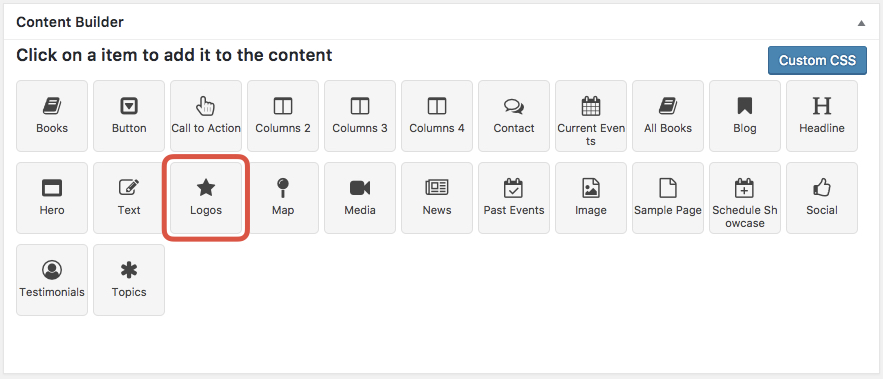
- Please note that in order to build content in Logos element just follow these simple steps:
- Content Builder: select the Logos element and you will then see the available options for the Logos element.
- The sections will then display and you will need to add the Title, Image 1 with an option to add/remove, Image 1 link, Image 2 upload with add/remove option, Image 2 link, Image 2 with add/remove option, Image 3 link, Image 4 add/remove option and image 4 link.
- Edit Styles: Edit colors and text sizes, margins etc or leave blank for default settings in edit styles such as section, title.
8 Best practices and Tips
We suggest to follow our directions and use the sections as instructed. Using the sections in different ways may result in compromising the layout. We won’t be able to help in that case. Install as few plugins as possible.
SpeakerSumo is a very flexible theme that should fulfill all your needs. We custom developed all the different functions. There are no plugins requirements. The performance of your theme is strictly linked to installing as few plugins as possible and to respecting the section purposes.
We remind you we do not offer support or fixes when external plugins are installed. If you install them you do at your own risk. Do backup always. Before making any changes do run a backup. We have a long history of customers losing their work because they did not back up.
9 ‘“ Editing the CSS![]()
You can also edit the CSS of your theme. You can easily find all css files ,they are in /assets/css files.