Your event can be divided into Sessions, and Fudge 2.0 provides you an easy way to define them. Sessions can be
assigned to ‘Tracks’, a visual way to group similar sessions according to a topic.
Your sessions may also have different locations i.e. the room or venue of a specific session. All these concepts are
present in the Sessions Menu.
You can add all the Tracks and Locations at once, by clicking on Dashboard > Sessions > Tracks/Locations or you
can create them as you need when creating a Session.
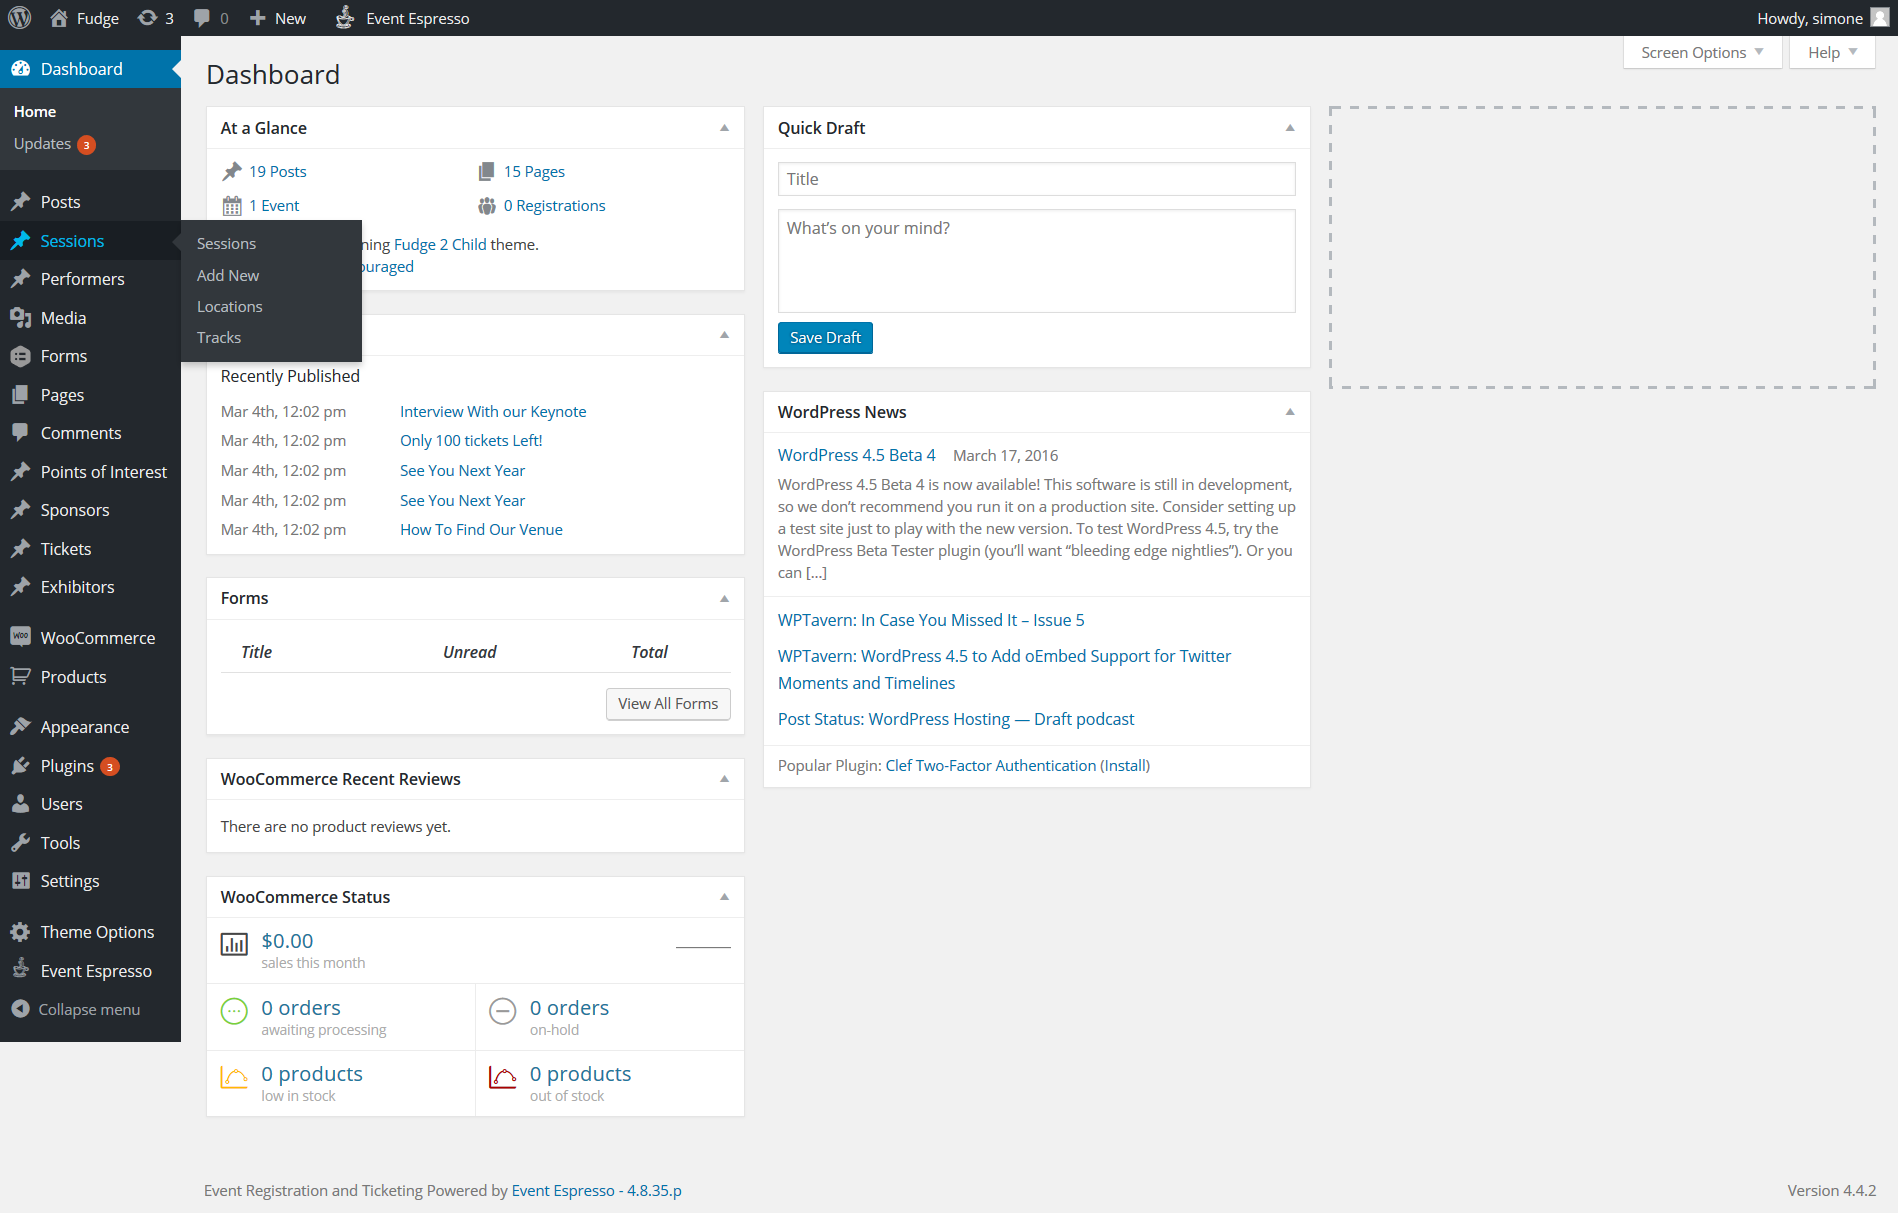
To create a Session, go to Dashboard » Sessions » Add New.
- 1 ‘“ Title: add the name of the Session.
- 2 Description: add a brief description about the Session.
- 3 Session Details: Add the date of the session and the start and end time (make sure to
enter the time in 24:00 format where 9am is 09:00 instead of 9:00) . If you are using an event management
service like Eventbrite or Xing or EventEspresso for registration of each session, then you can add the
registration embed code here. In the registration text box, you may enter a call of action text for
registration. - 4 Performers: select the Performer or Performers for this session. If you see an empty box
here it means you haven’t added a Performer yet. See how to add a Performer in Performerss. - 5 Session Locations: select or create a new Location. Here you can
specify the room or venue of a specific session, so your attendees could quickly filter Sessions by location. - 6 Session Tracks: select or create a new Track. Tracks identify a common
topic area of different sessions. If you want your attendees to quickly skim through the schedule tracks are
very useful. - 7 – Featured Image: Set a Featured Image for the session if you like.
- 8 – And of course, once you are done click on ‘Publish’.

So now if you come back to Dashboard » Sessions » Sessions you will see your new Session in the list.
Repeat this simple process for all the Sessions of your event.
Note: All sessions MUST have a date assigned to them. Not inputting a date may result in the schedule not
being visible.
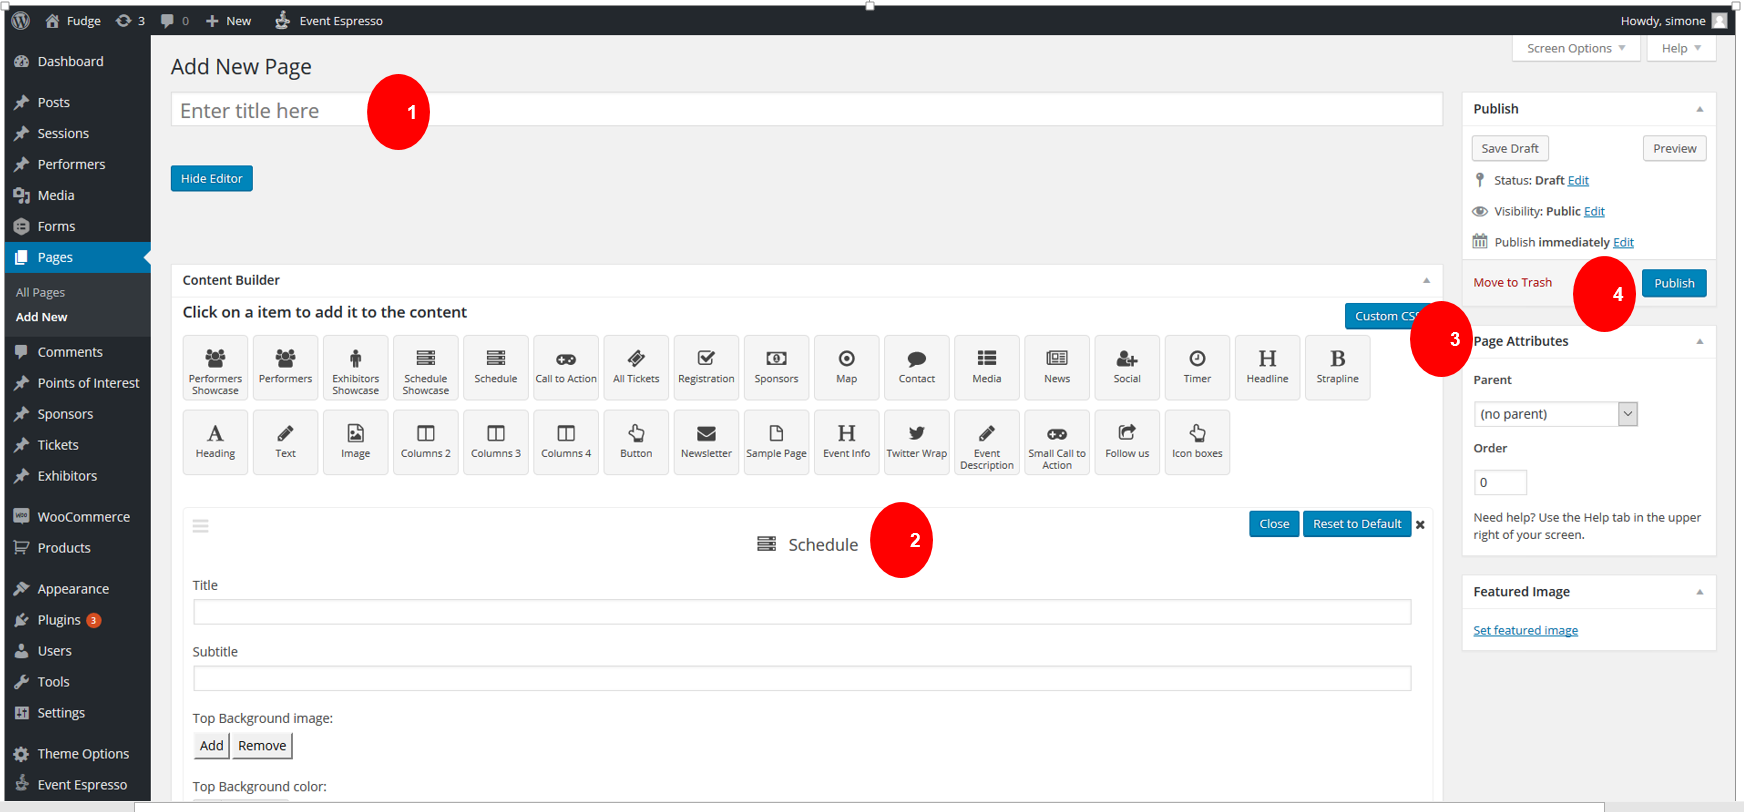
Setting up a full schedule page
Fudge 2.0 has a fresh new look for the dedicated schedule page and setting up your full schedule page couldn’t be
simpler.
Navigate to Page -> Add New.
- 1 – Title – Provide a title for your full page schedule.
- 2 Content Builder select schedule, you will then see the available options for the following.
- 3 Page attributes leave these as they are
- 4 Lastly, save publish or update your page